
Post
Setting Up Google Analytics 4 for Shopify
How to configure your Google Analytics 4 property for your Shopify store to get clean, accurate, and complete data.
Kevin McLaughlin
7 min read
In this guide we detail how to configure a Google Analytics 4 property to get clean, accurate and complete data for a Shopify store. This assumes you’ve already created your Google Analytics 4 property and are sending it ecommerce data from Shopify. If you haven’t done that, you can install the SlideRule Google Analytics 4 app on your Shopify store (it’s free) or send the data using Google Tag Manager.
This guide will apply whether or not you use SlideRule’s GA4 app.
Get all the GA4 e-commerce reports you need in under a minute, directly from the Shopify admin for just $10 a month.
First, you need to make sure our Google Analytics 4 property matches your Shopify store's timezone and currency. The currency is especially important. Without this, Google Analytics will not convert currencies correctly and your revenue data will be wrong.
In Google Analytics, go to Admin > Property Settings.
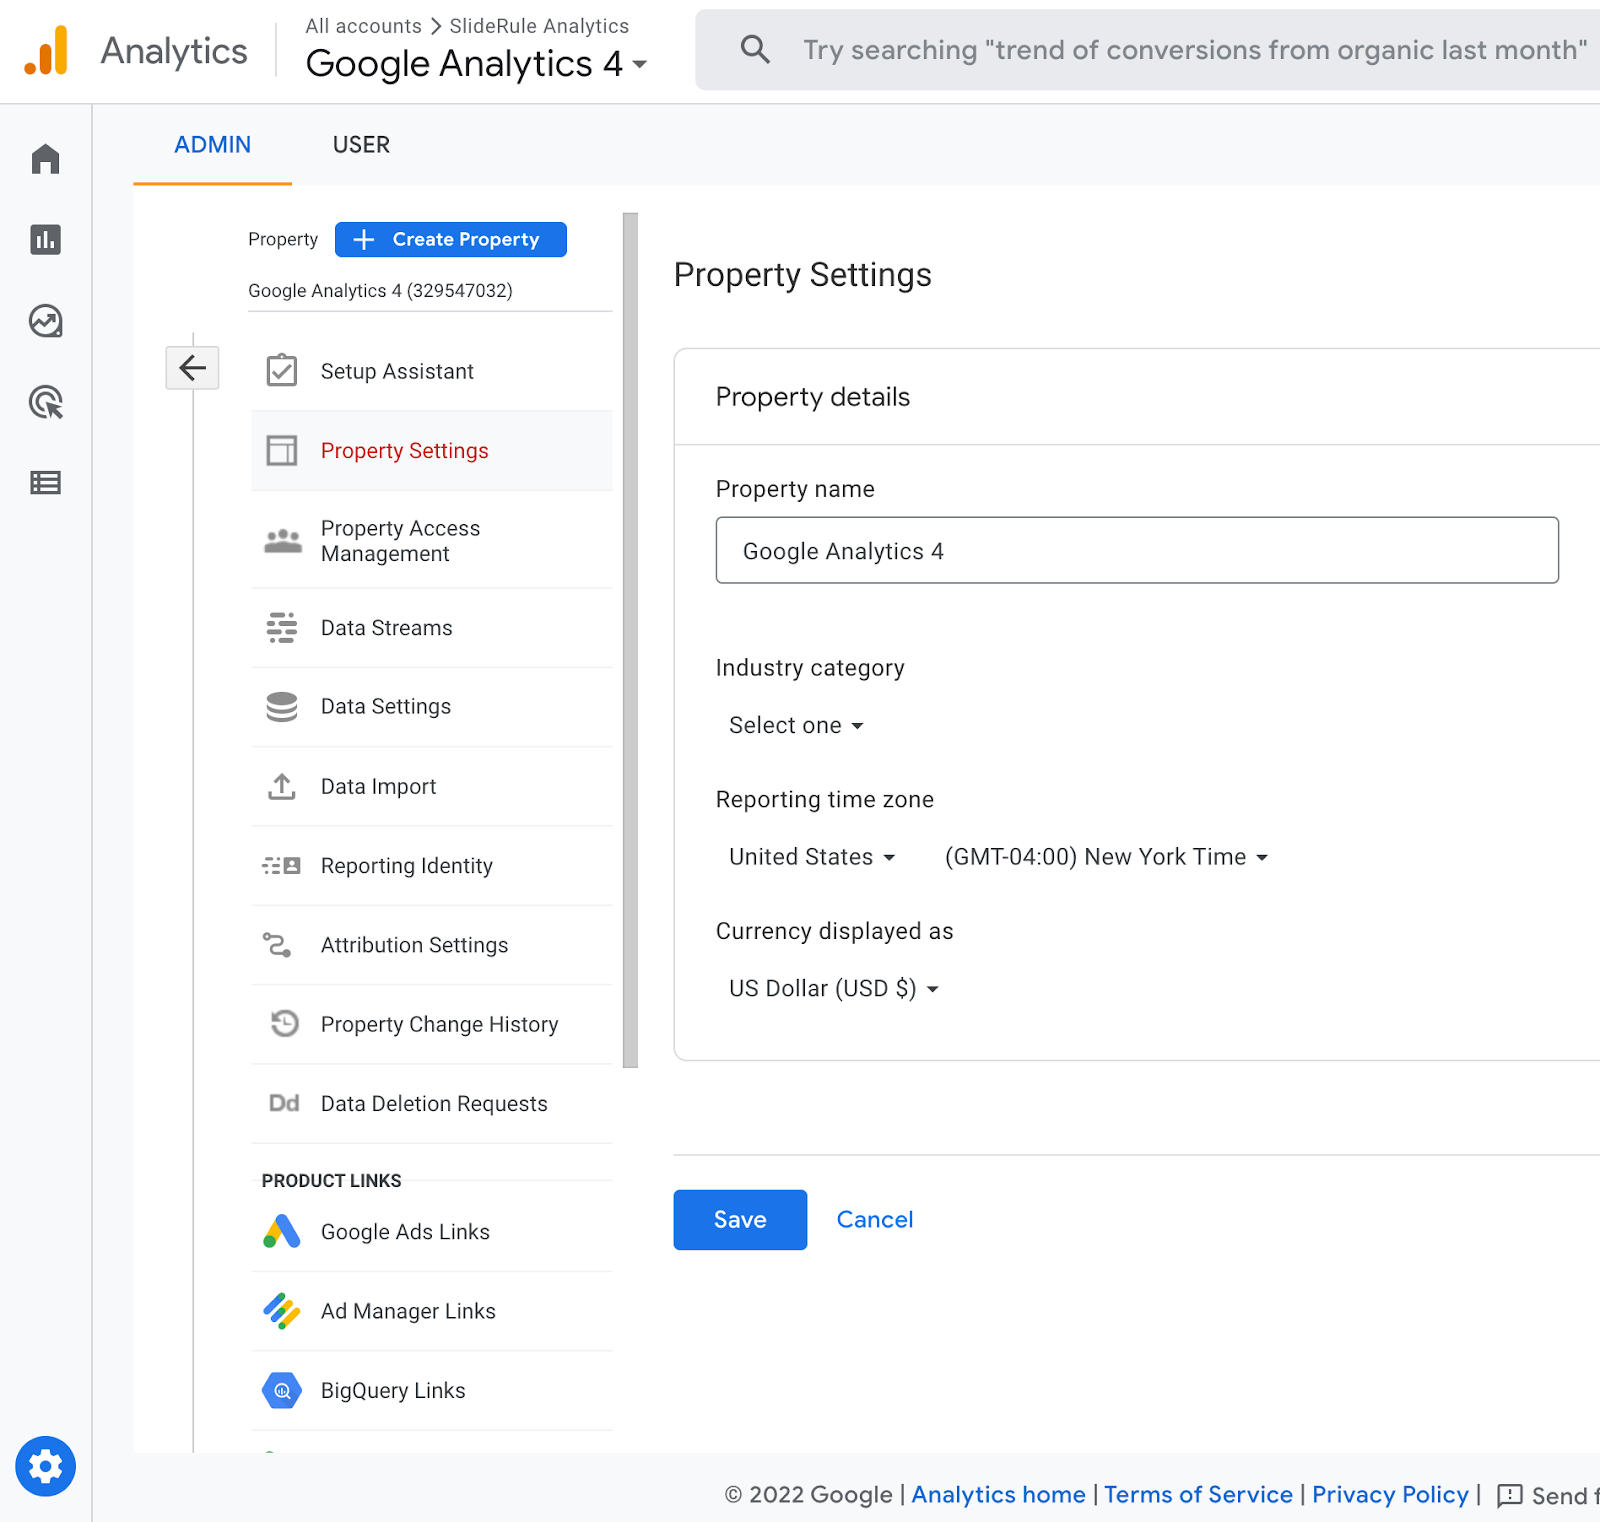
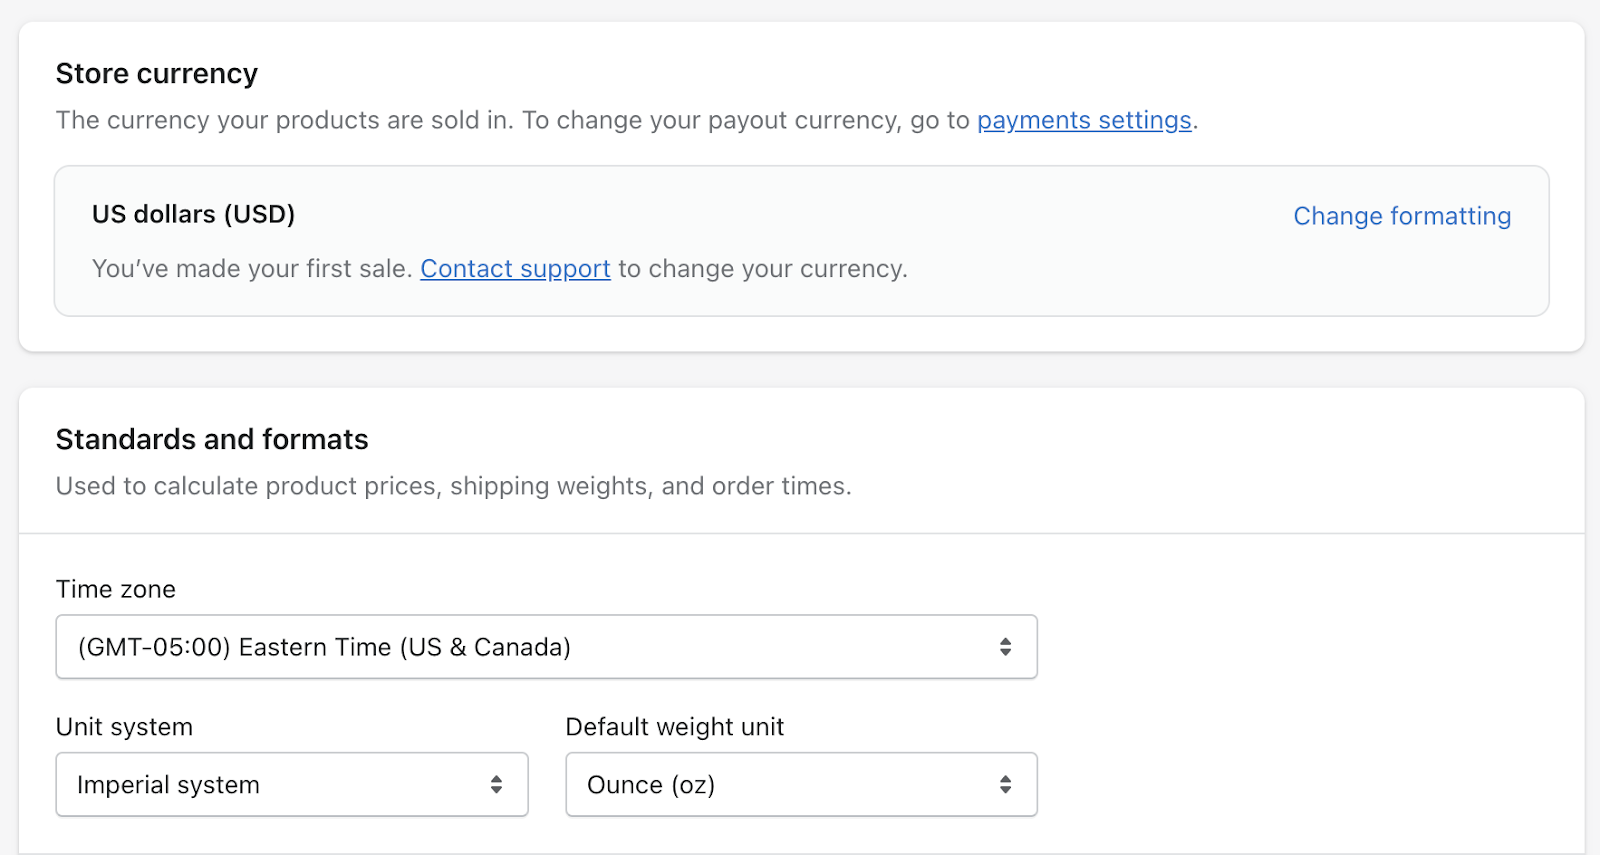
Make sure these match your Shopify settings (under Shopify > Settings > Store Details).
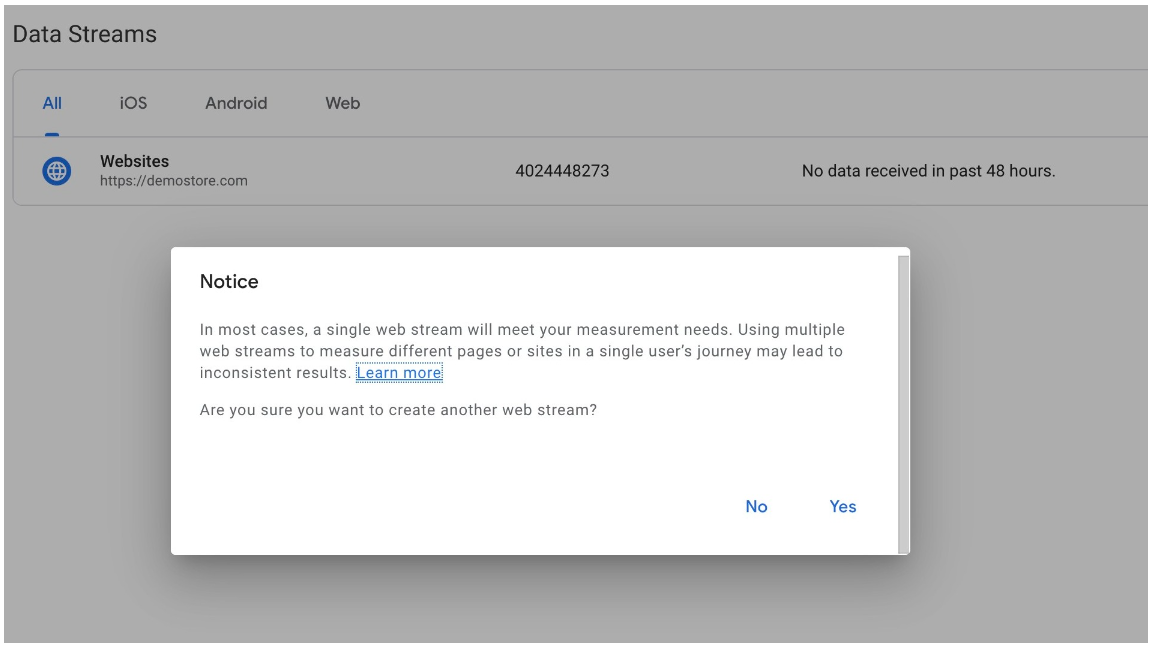
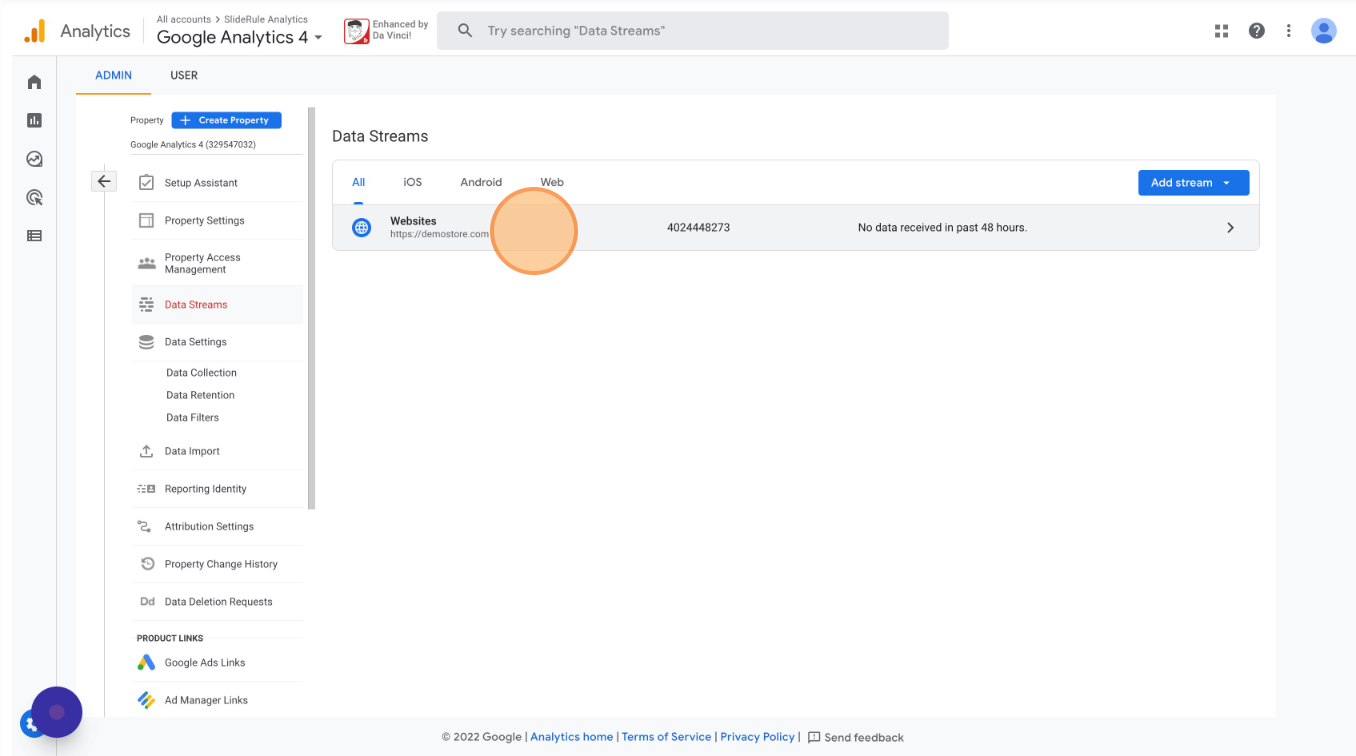
Back under Google Analytics 4’s settings, open your Data Streams.
Ensure that you do not have multiple Web Data Streams in your Google Analytics 4 property. Use the same "Websites" Stream for all sites related to your store, including landing pages, help pages, etc. There is no reason for a single Shopify store to have multiple Data Streams.
Defining and filtering your internal traffic ensures that visits from your internal team don't skew your metrics and reporting in Google Analytics.
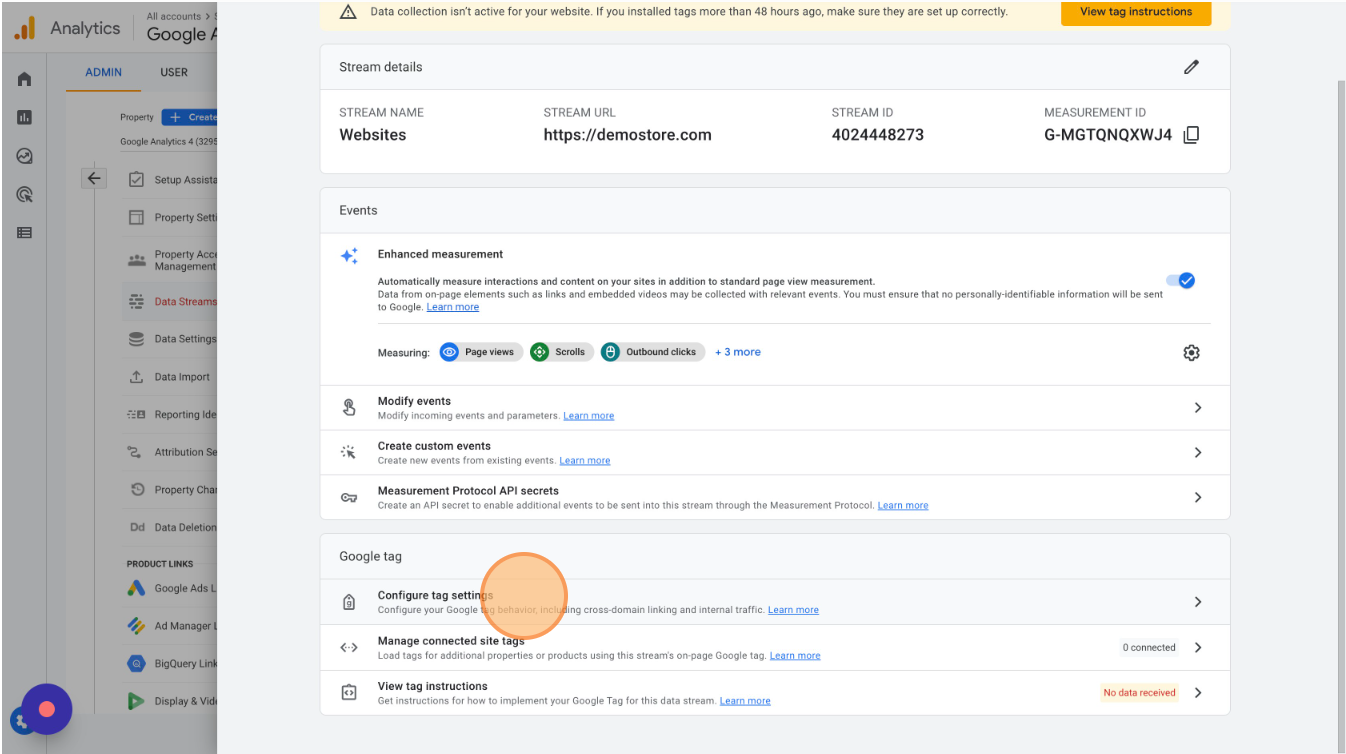
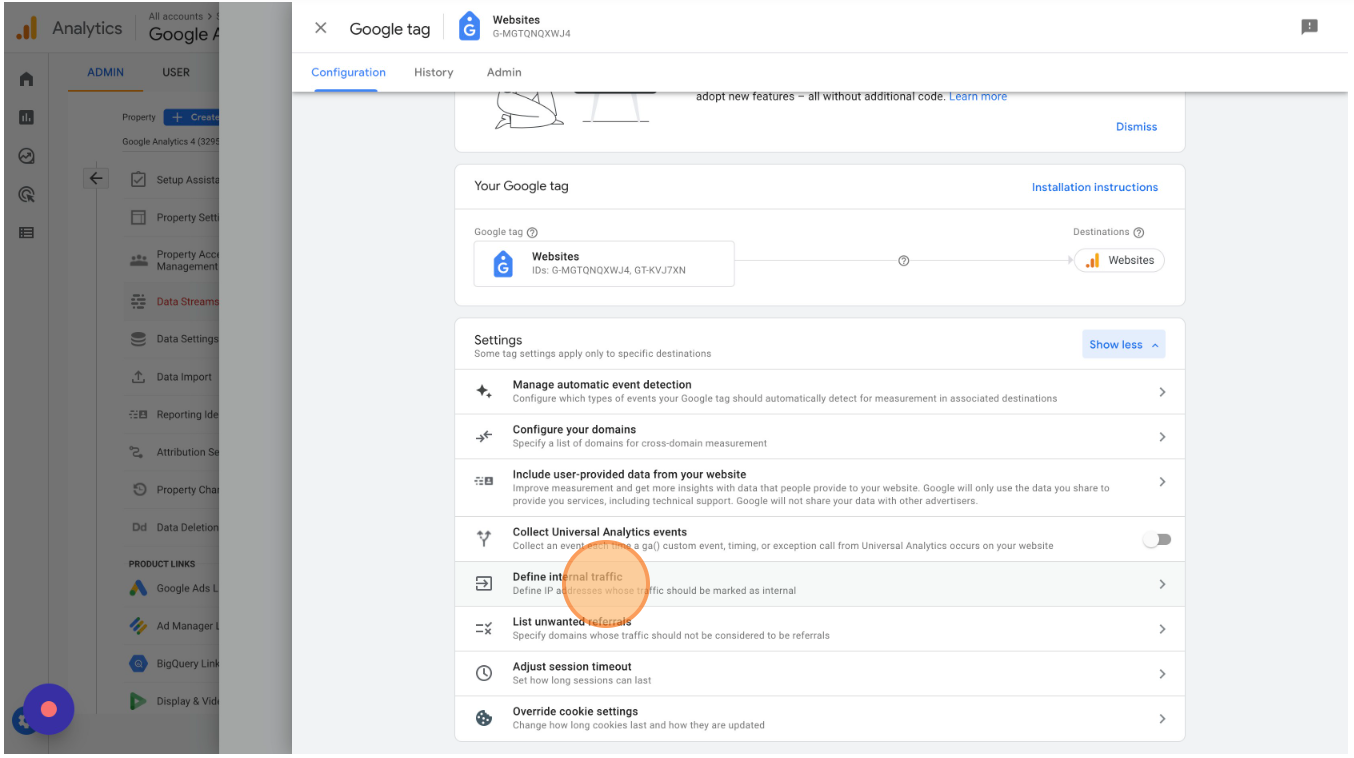
To set it up, open your “Websites” Data Stream and click "Configure tag settings".
Click "Show all" and select "Define internal traffic"
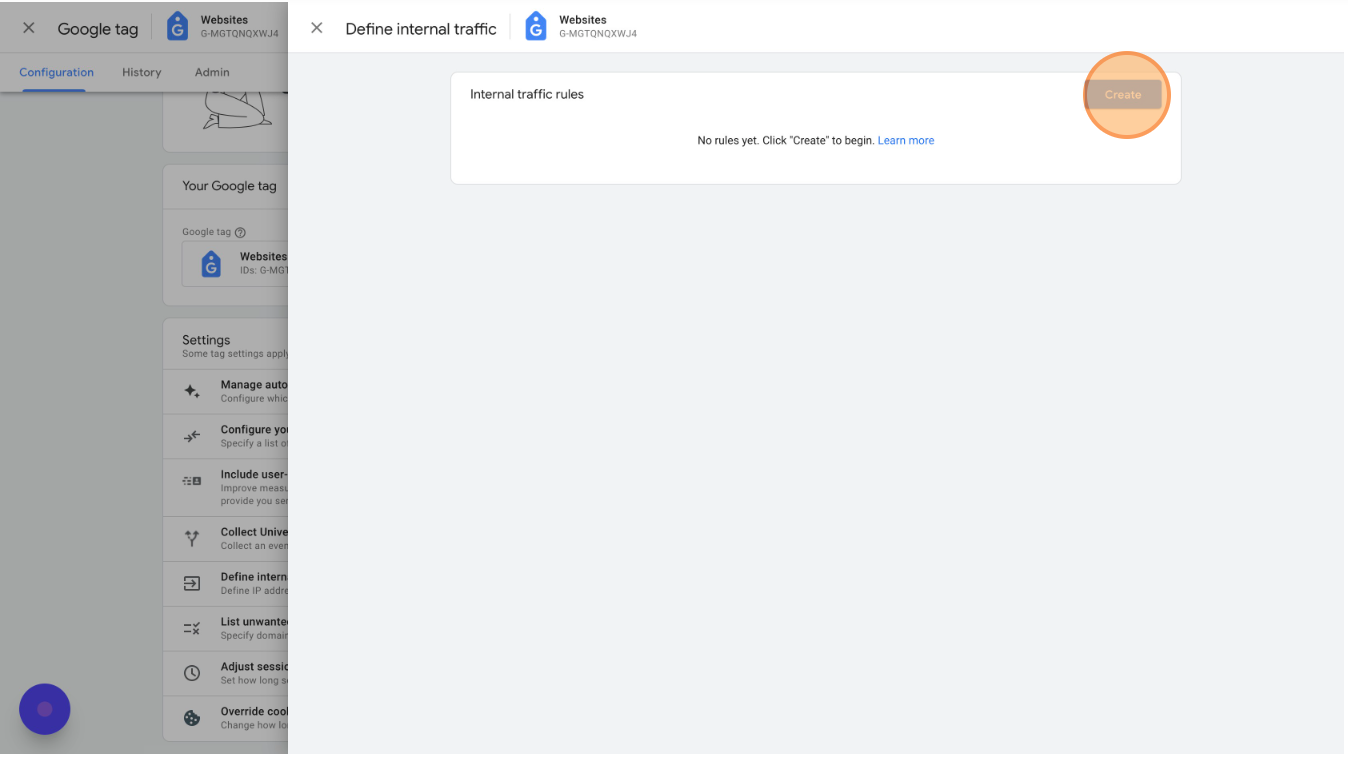
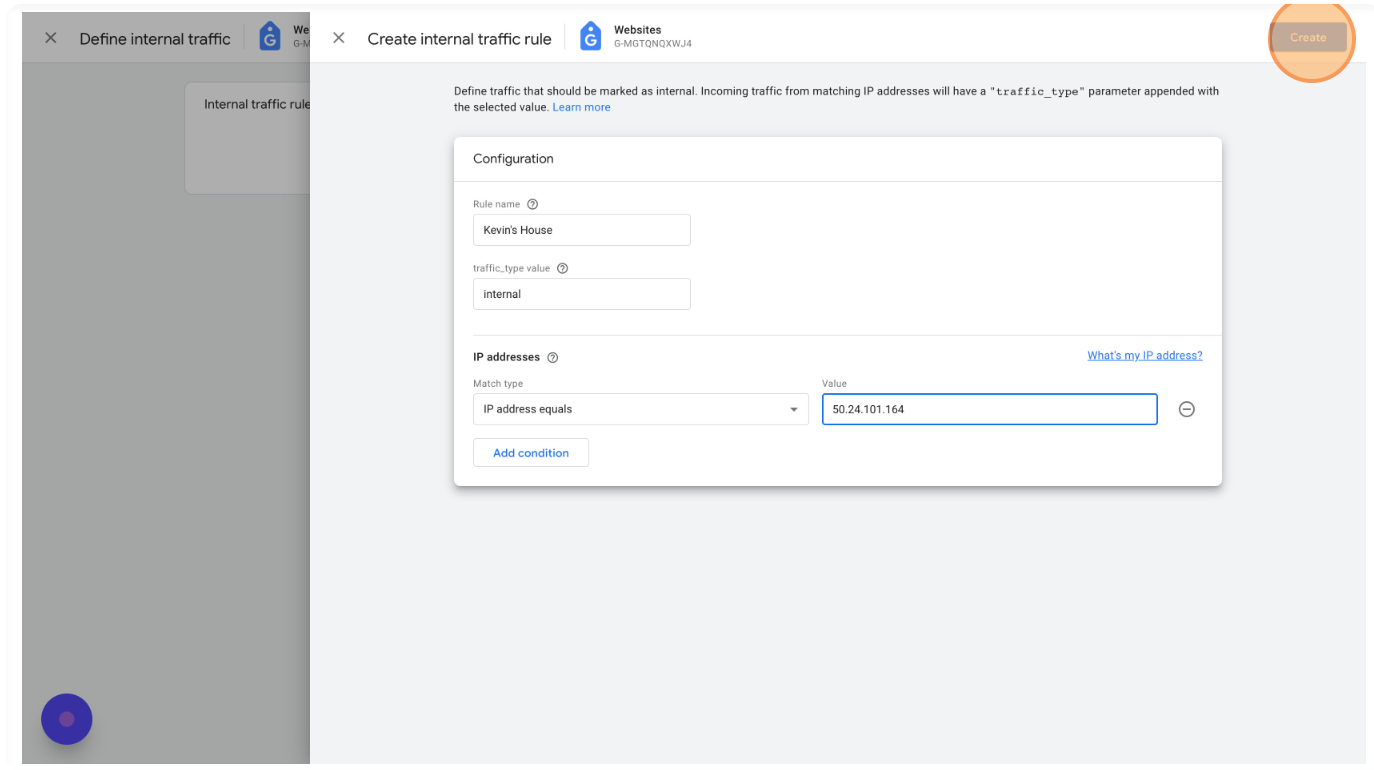
Click "Create"
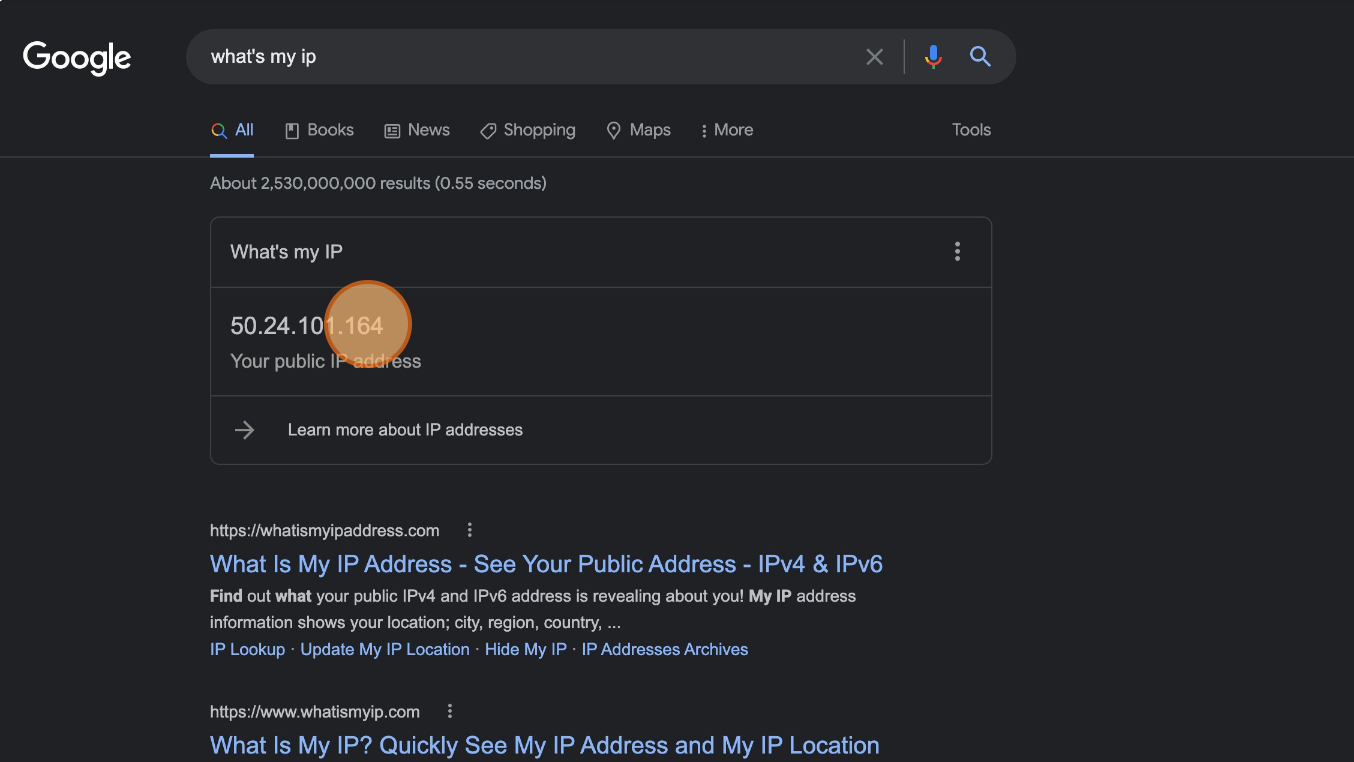
Use Google to find your IP address.
Select "IP address equals" and enter your IP address.
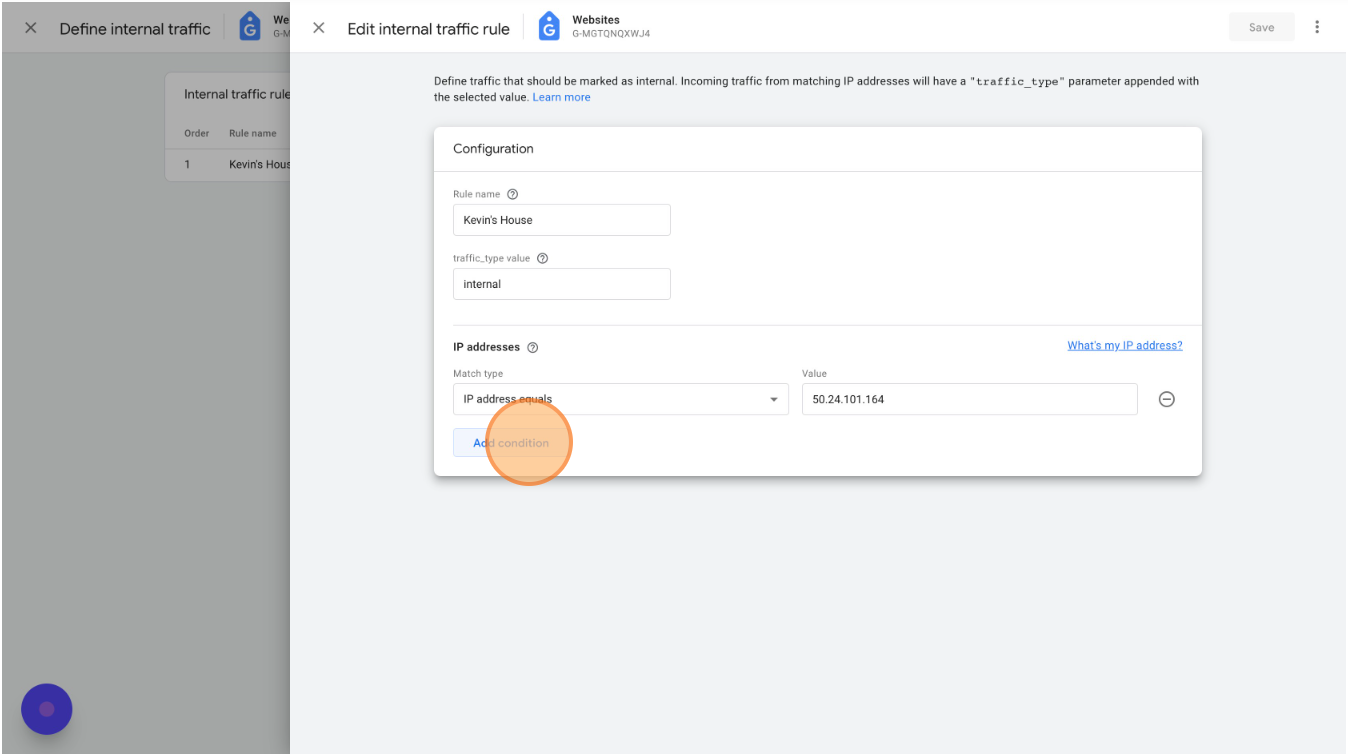
Click "Add condition" to add other IP addresses as needed. If you have IP filters defined in Universal Analytics (under Views > Filters) you can copy them all over here.

Click "Create" to finish the internal data definition.
Unlike Universal Analytics, you have only defined what is internal data with IP addresses above. You still have to filter out internal data from Google Analytics. To do so, complete the steps below.
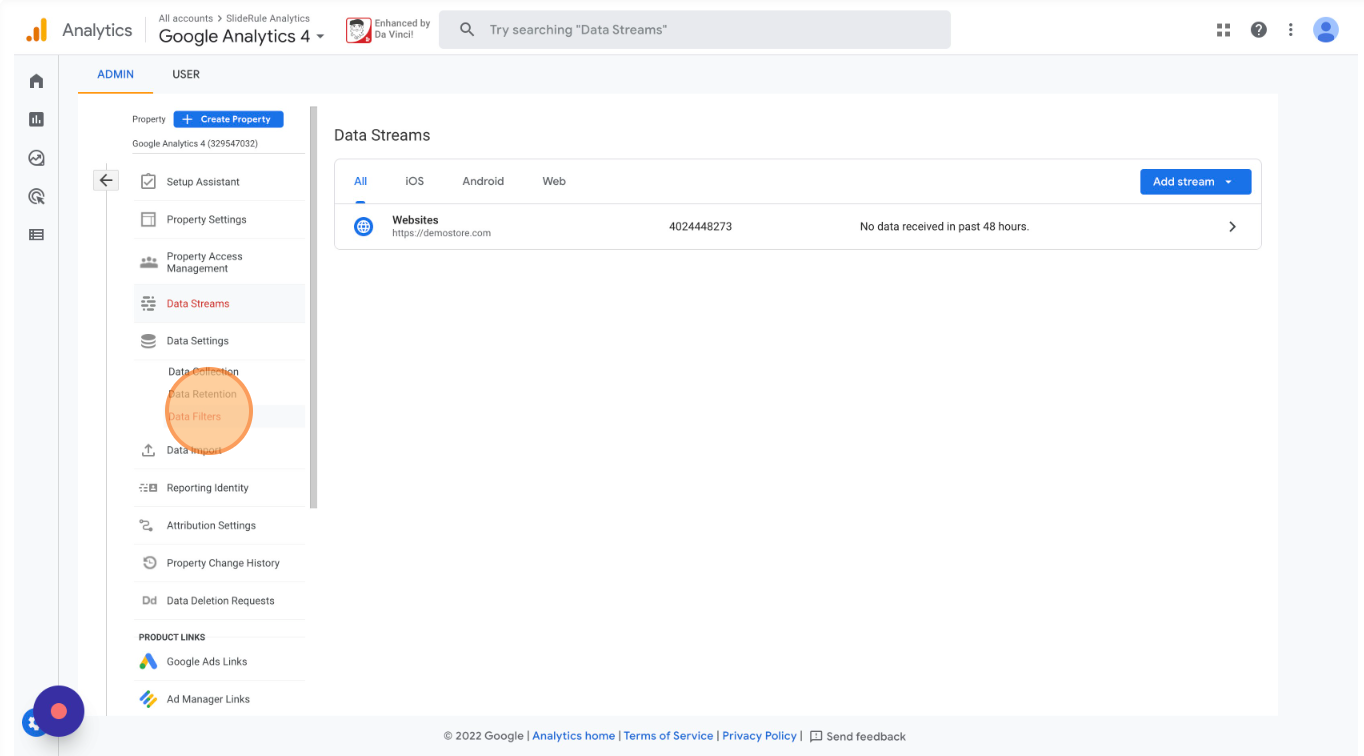
Close the Google tag Configuration window and click "Data Settings",

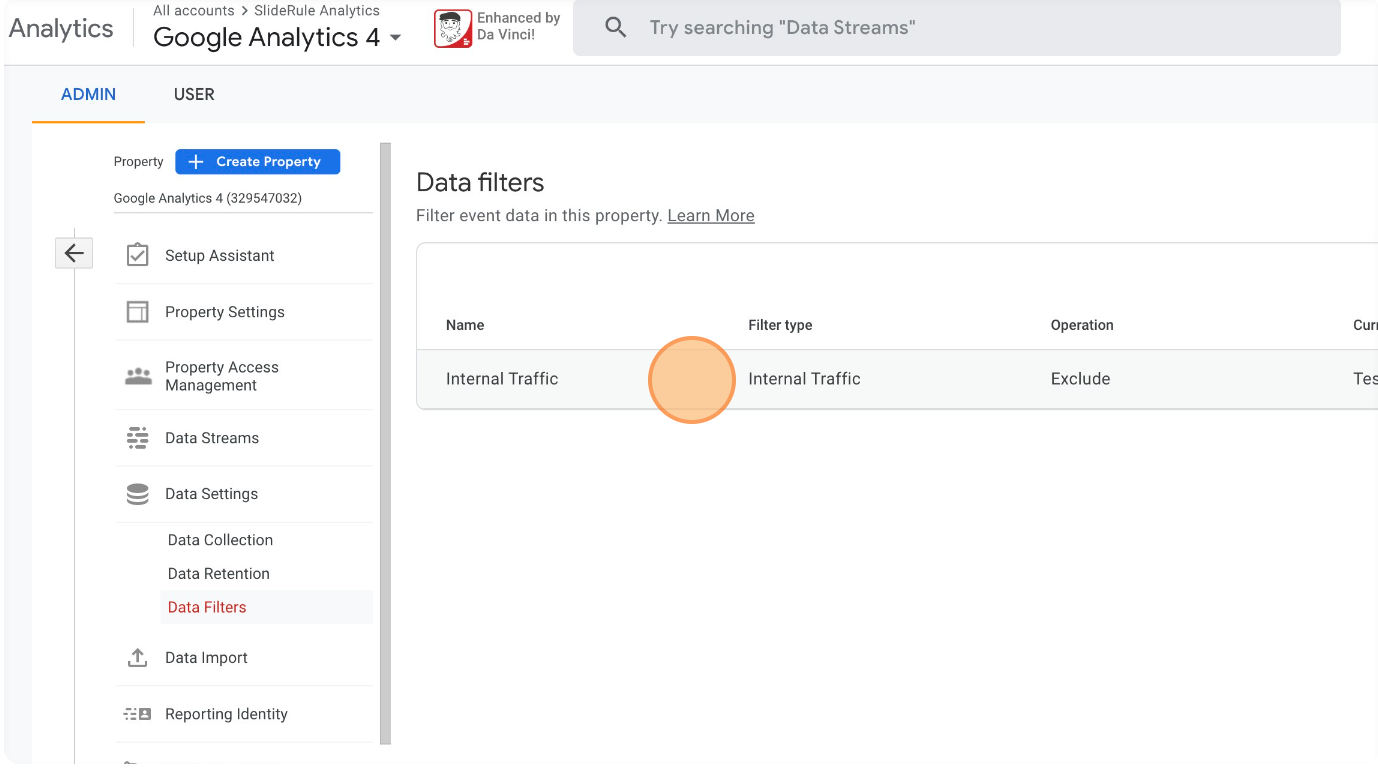
Select "Data Filters",
Click "Internal Traffic",
And switch the internal filter from "Testing" to "Active" and save.
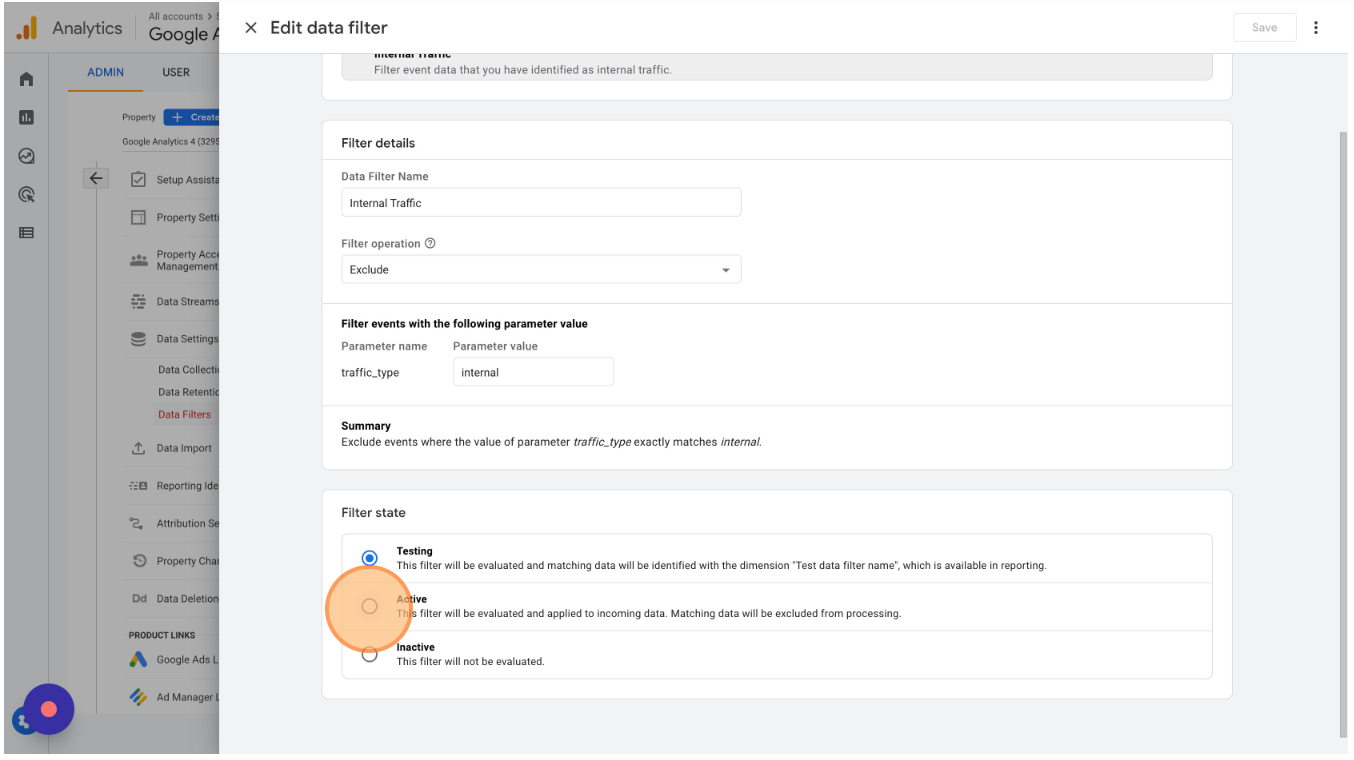
Activate the filter.
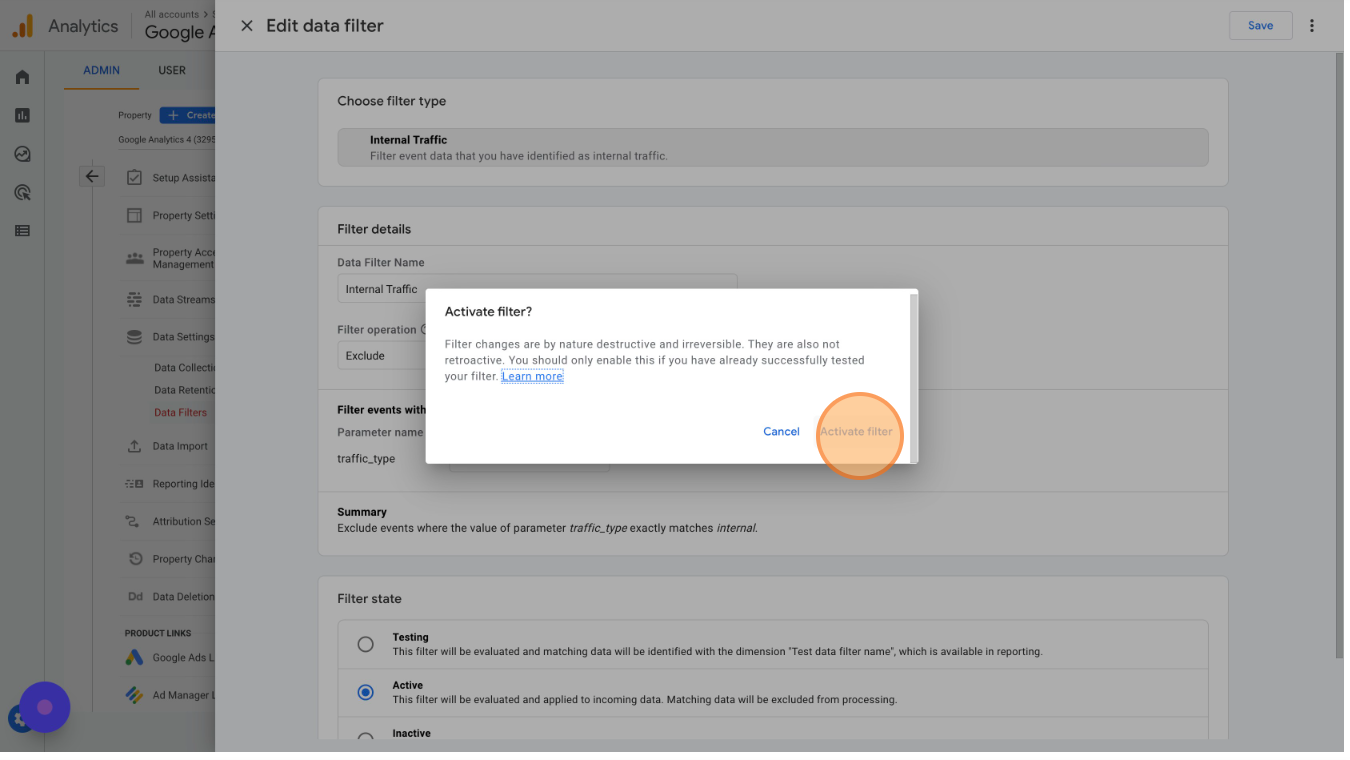
Now Google Analytics will filter out all internal traffic defined by our IP addresses from the reported data.
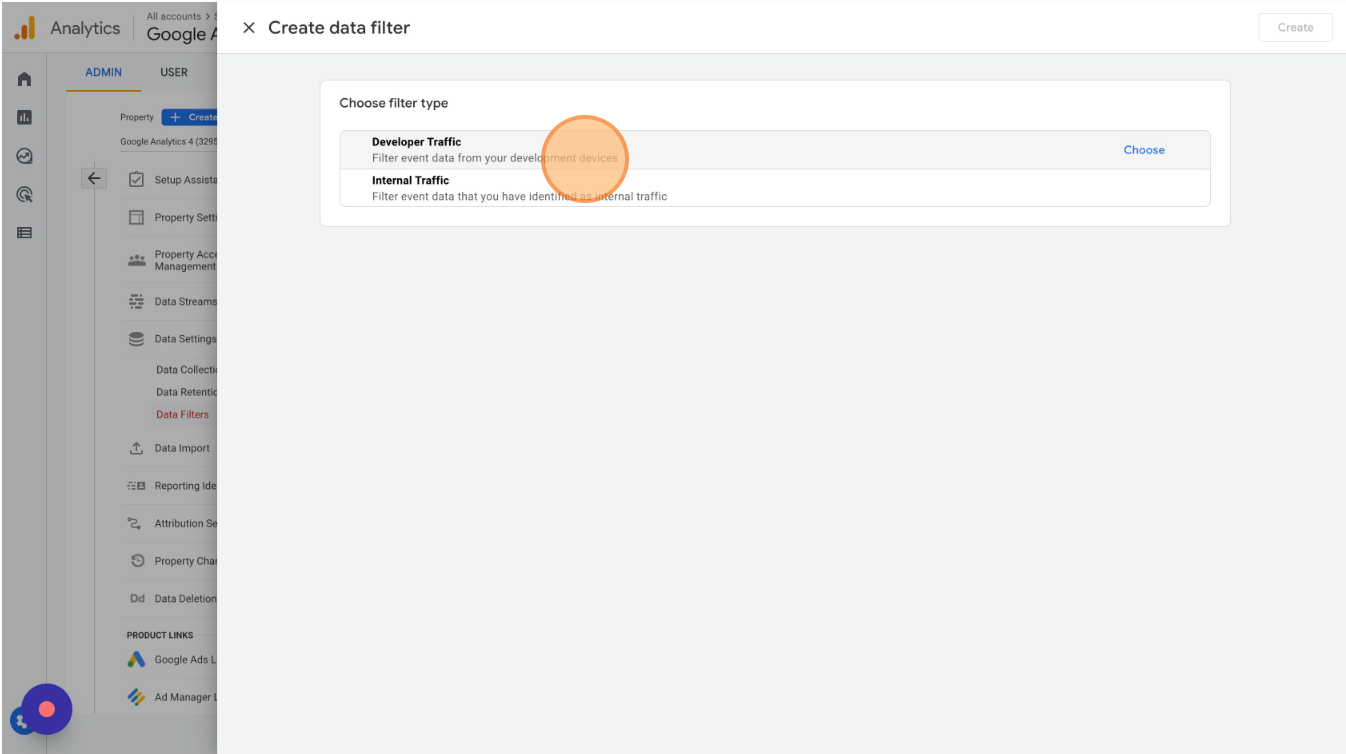
Next, we want to filter out developer traffic.
Create another filter and select "Developer Traffic"
Name the filter "Developer Traffic", set it to "Active", click "Create", and Activate the filter.
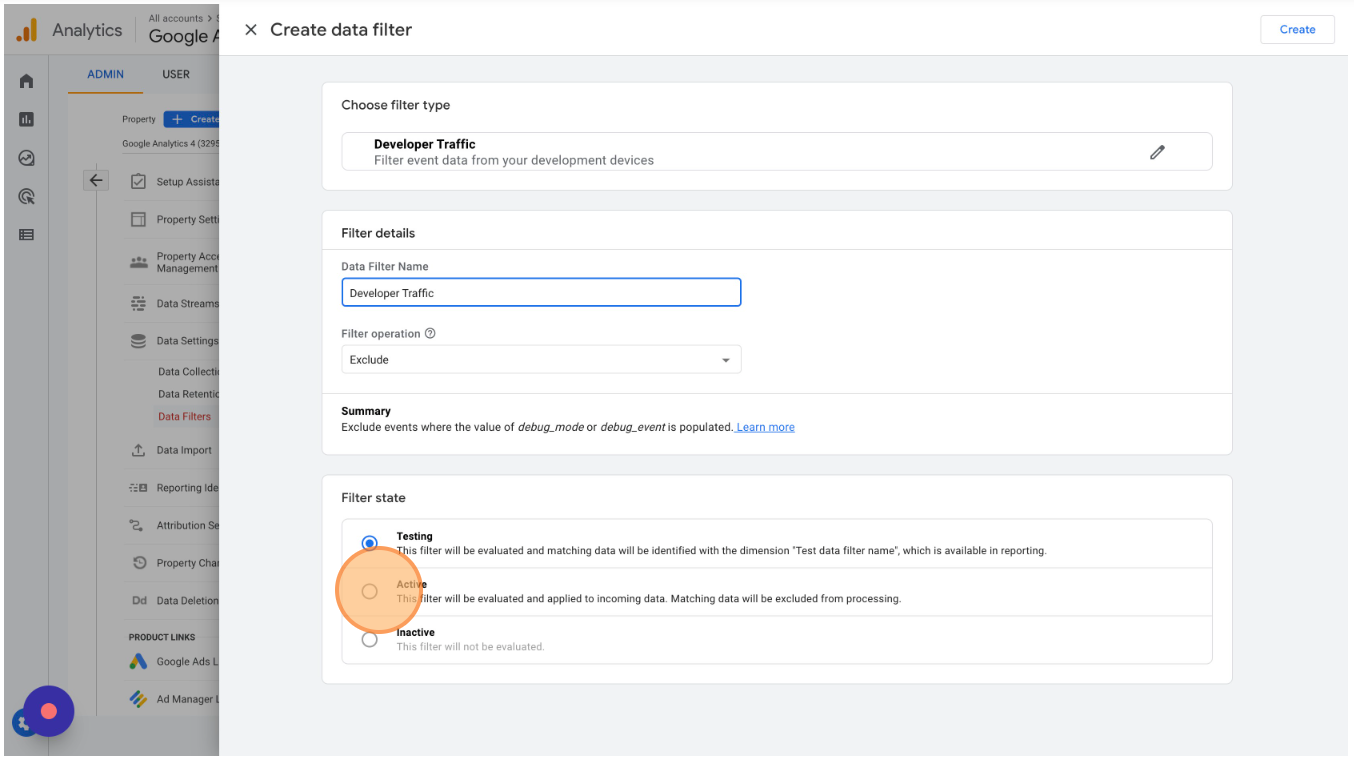
Google Analytics will now filter out internal and developer traffic from your data.
Both the SlideRule GA4 app and Google Tag Manager’s preview mode automatically flags all hits from Shopify preview mode as developer traffic, so you just need to create the filter in Google Analytics.
If you have multiple domains (mystore.com and mylandingsite.com) you need to configure cross-domain tracking in Google Analytics 4 so it can track users as they move from one domain to the other.
Return to your Websites Data Stream settings.
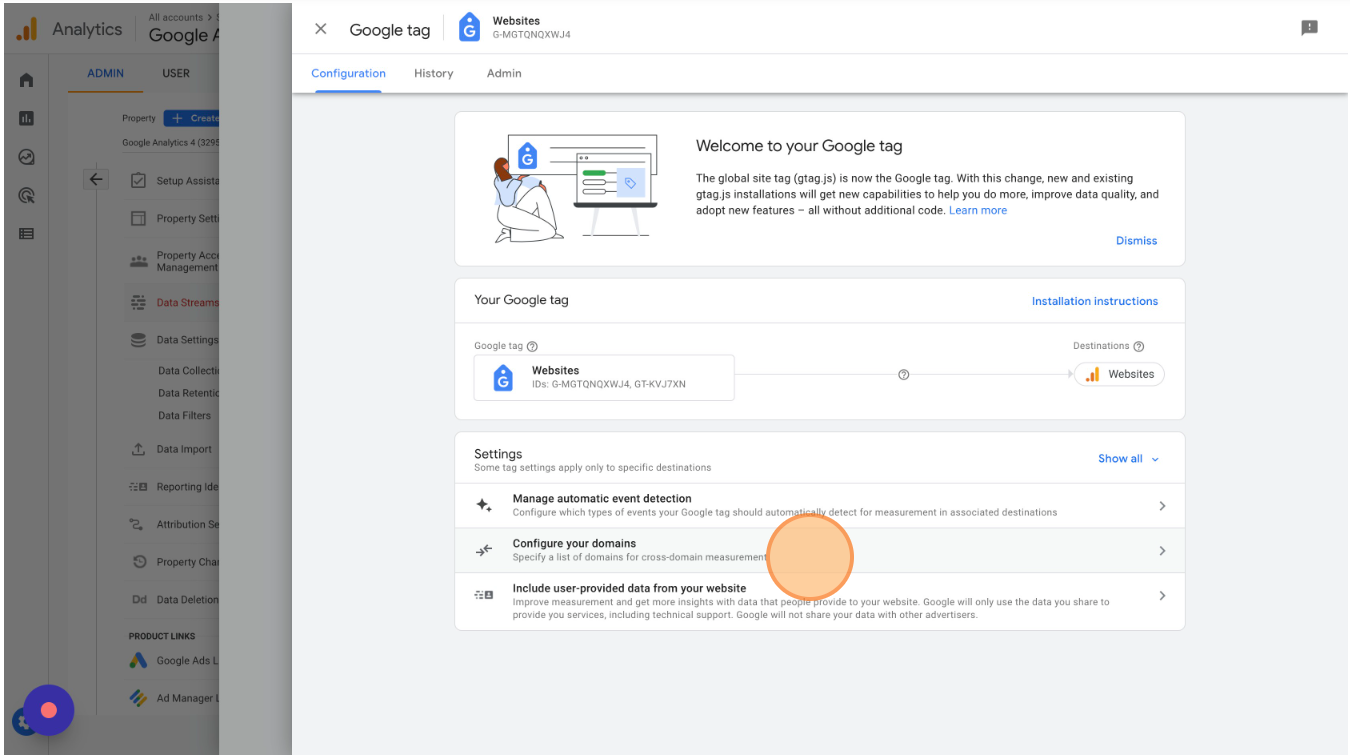
Select "Configure tag settings" again.
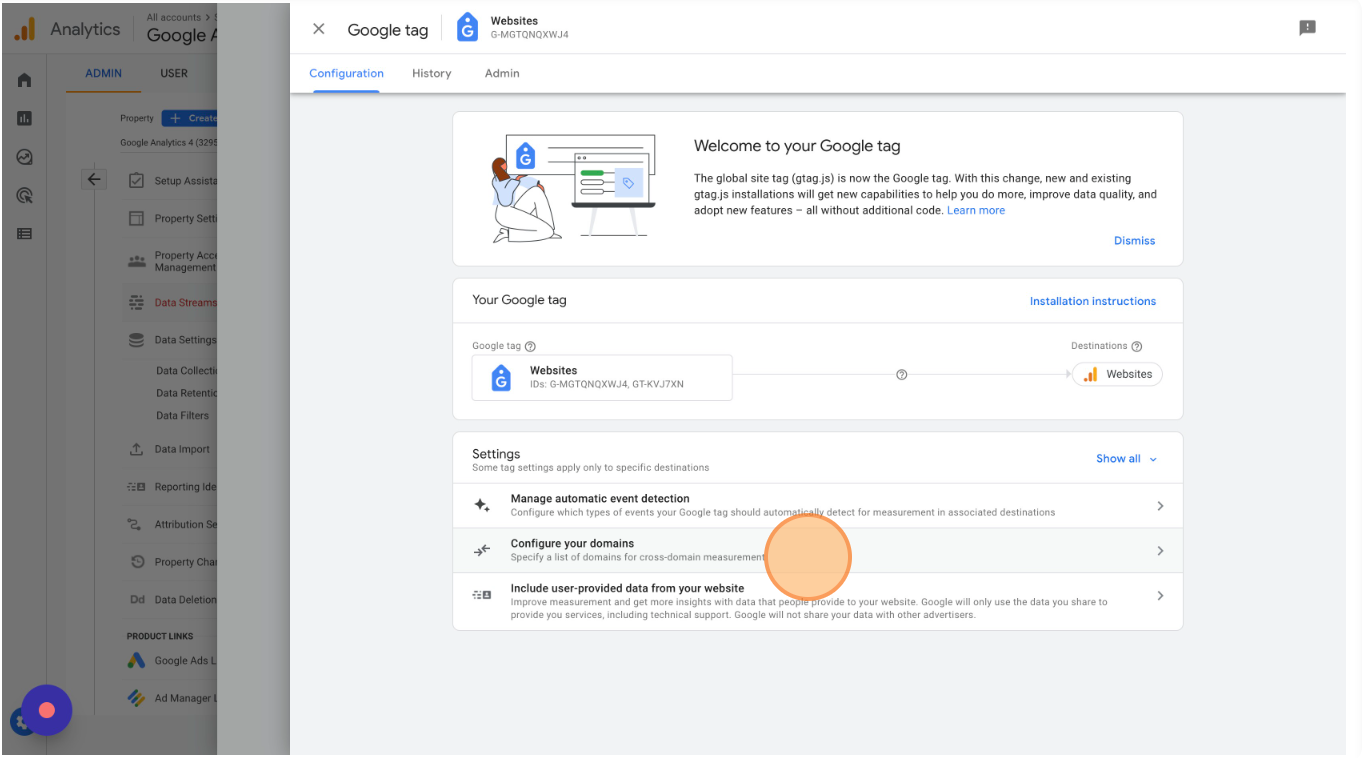
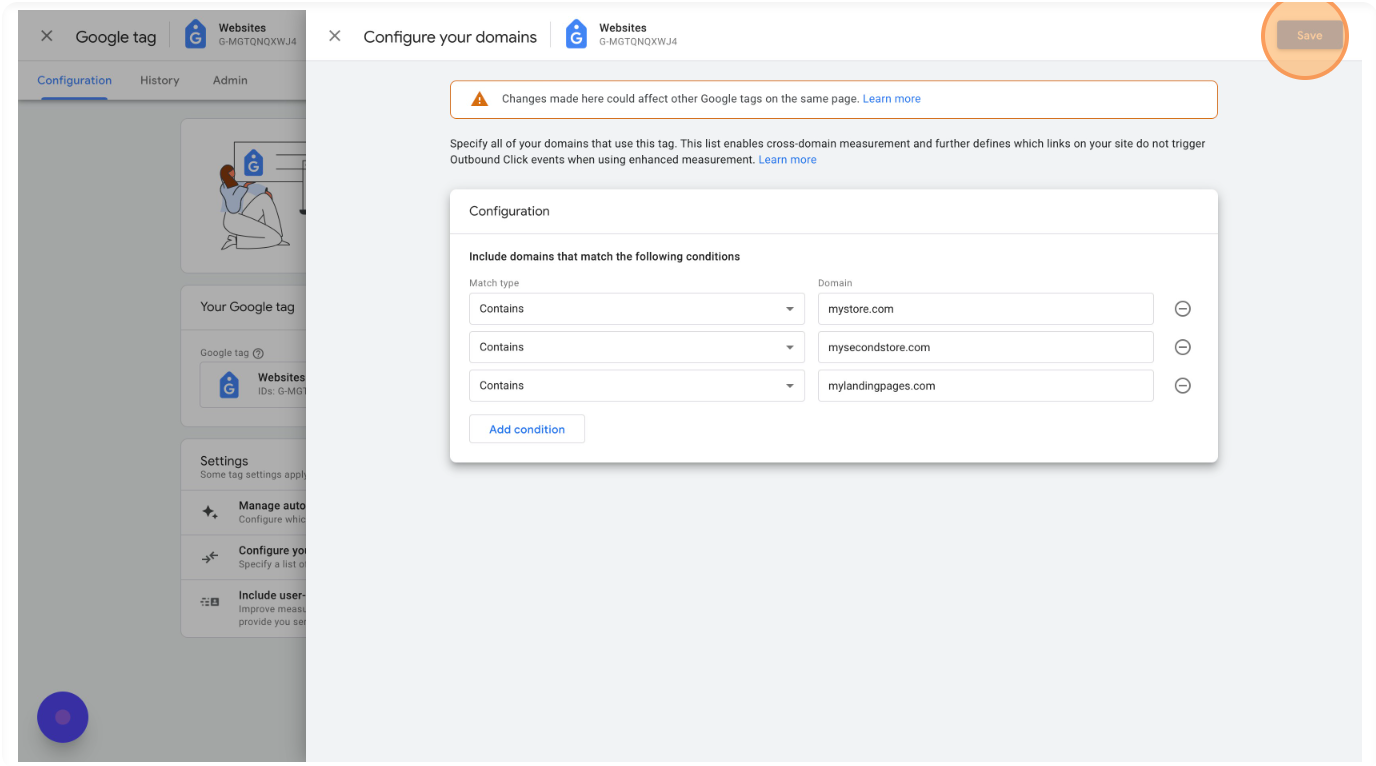
Select "Configure your domains"
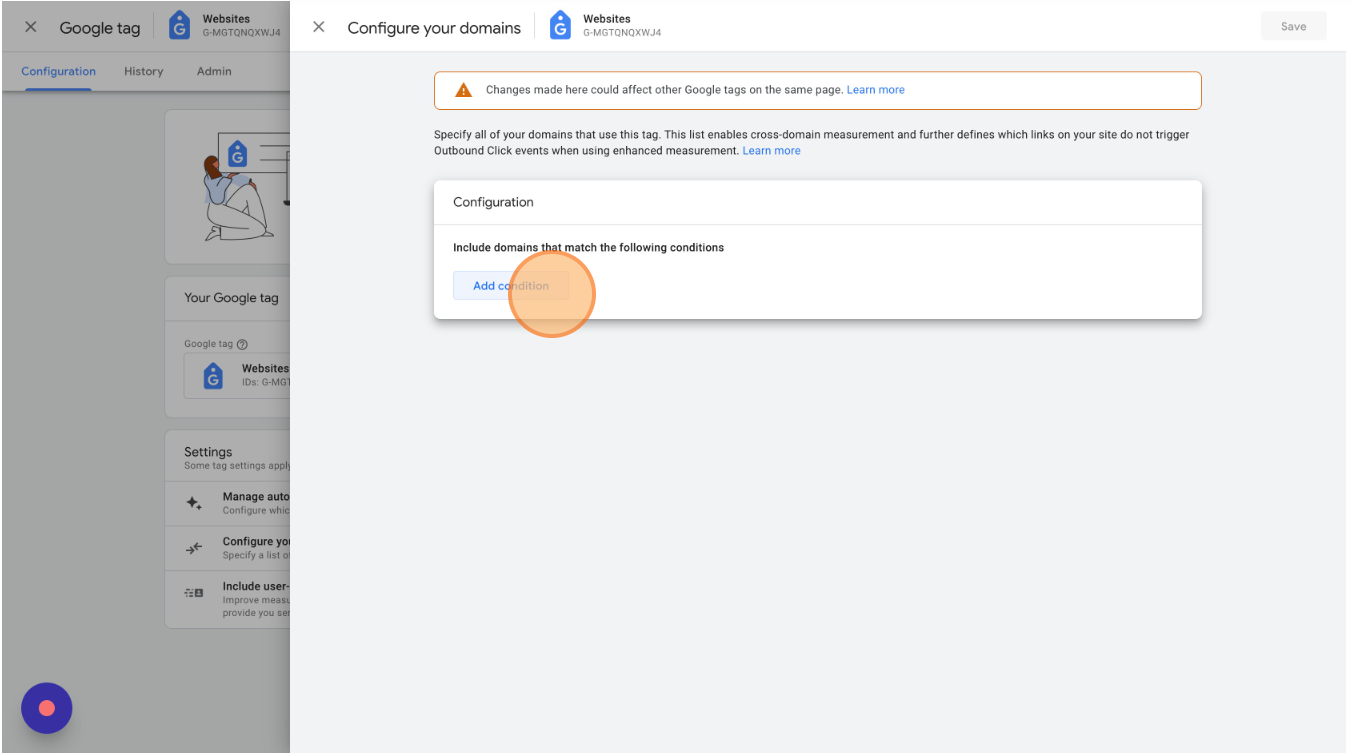
Click "Add condition"
Enter your store's domain and add a new condition for each domain that sends data to this Google Analytics 4 property. You only need to add separate root domains (myfirststore.com & mysecondstore.com), not subdomains (first.mystore.com & second.mystore.com).
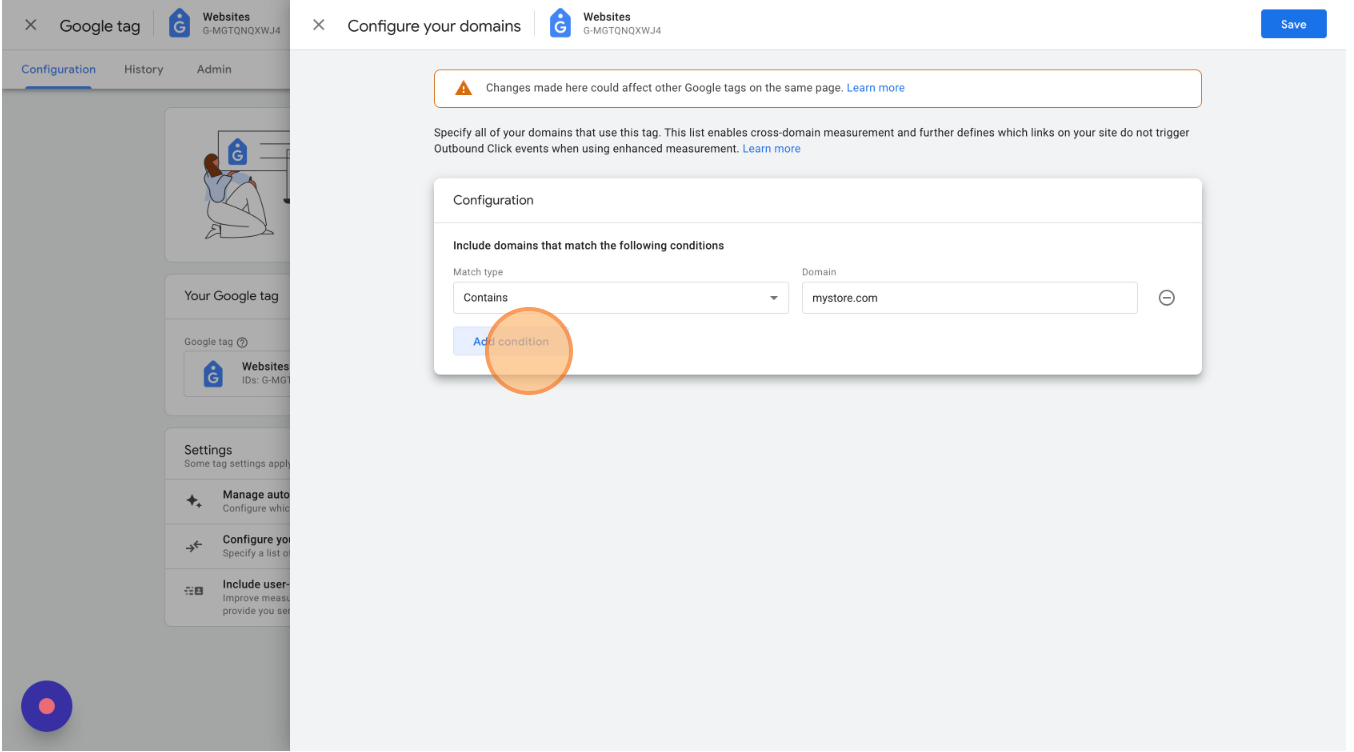
If your landing pages are hosted on a separate root domain (like mystore.unbounce.com), be sure to add them here.
Click "Save"
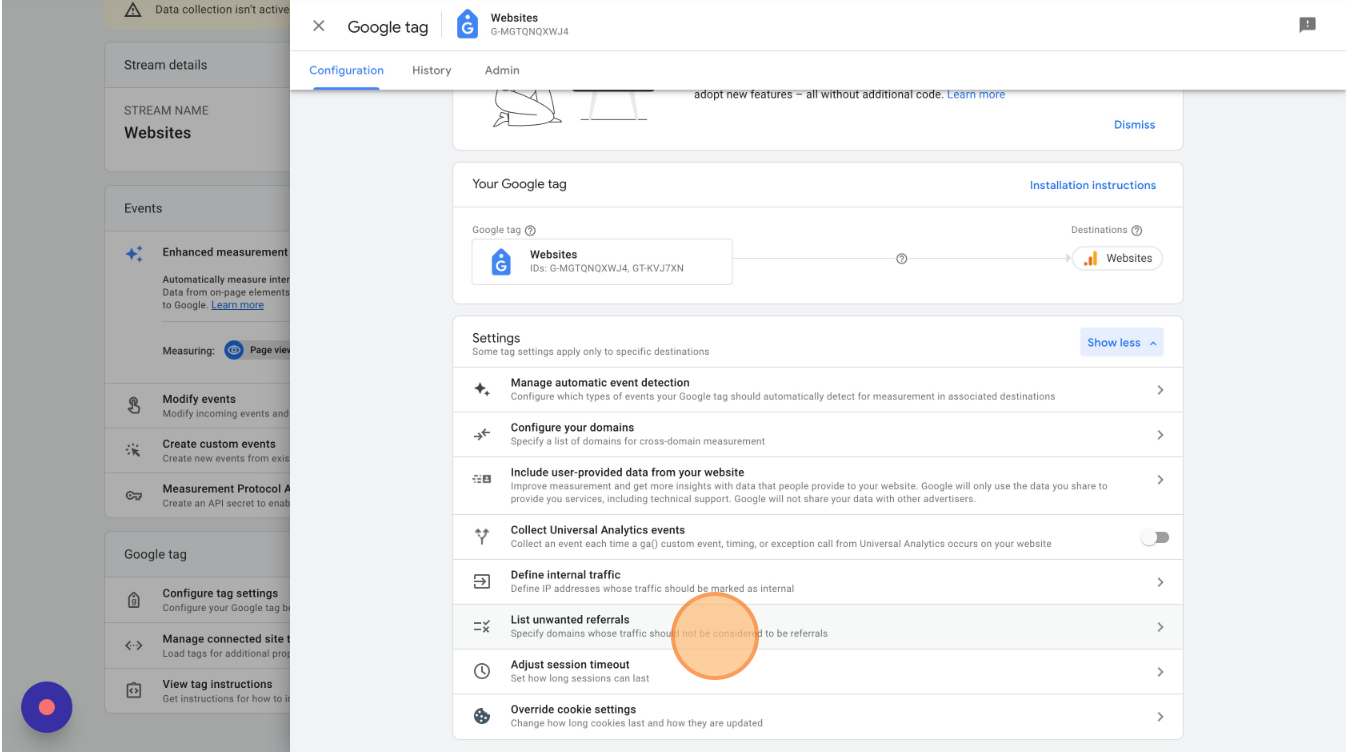
You must add all necessary referral exclusions to get accurate marketing data for your orders. Without proper referral exclusions, orders will be attributed to sites like shop.app and paypal.com.
Return to your Websites Data Stream settings and select "List unwanted referrals"
Click "Add condition"
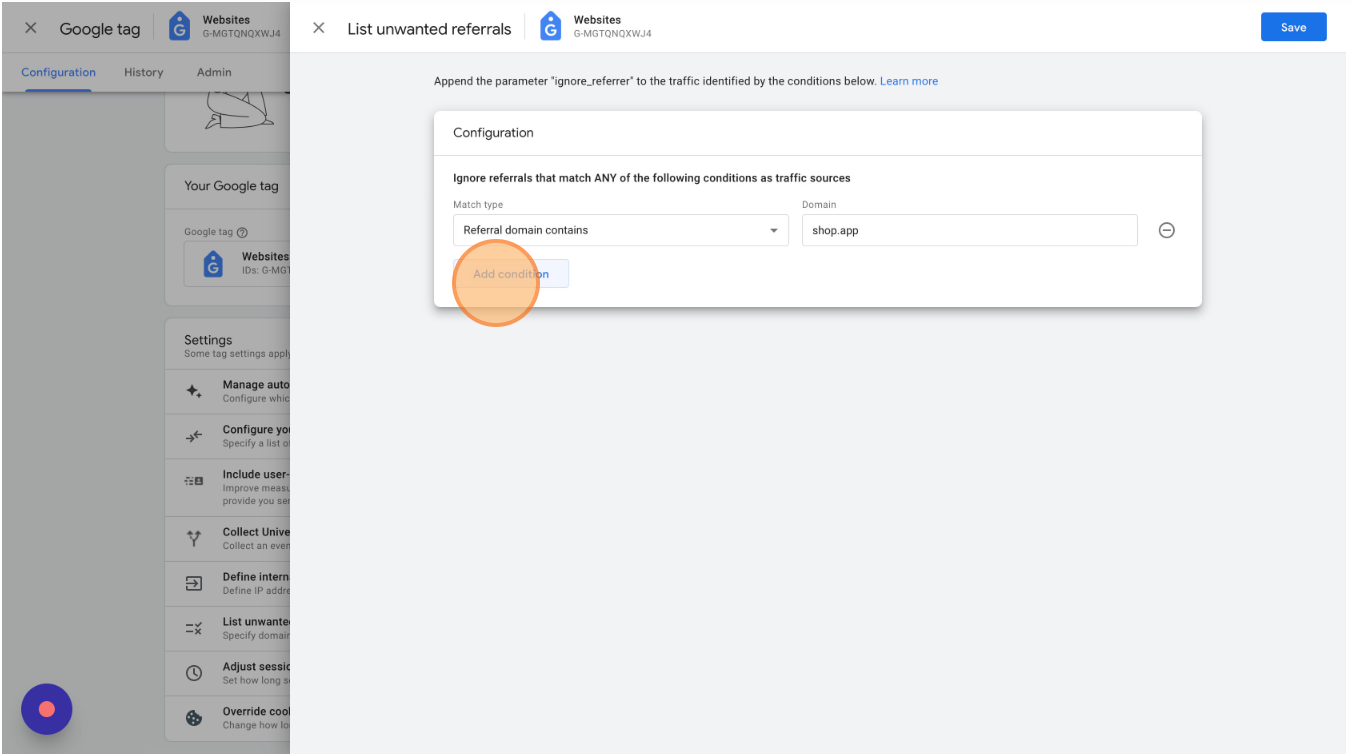
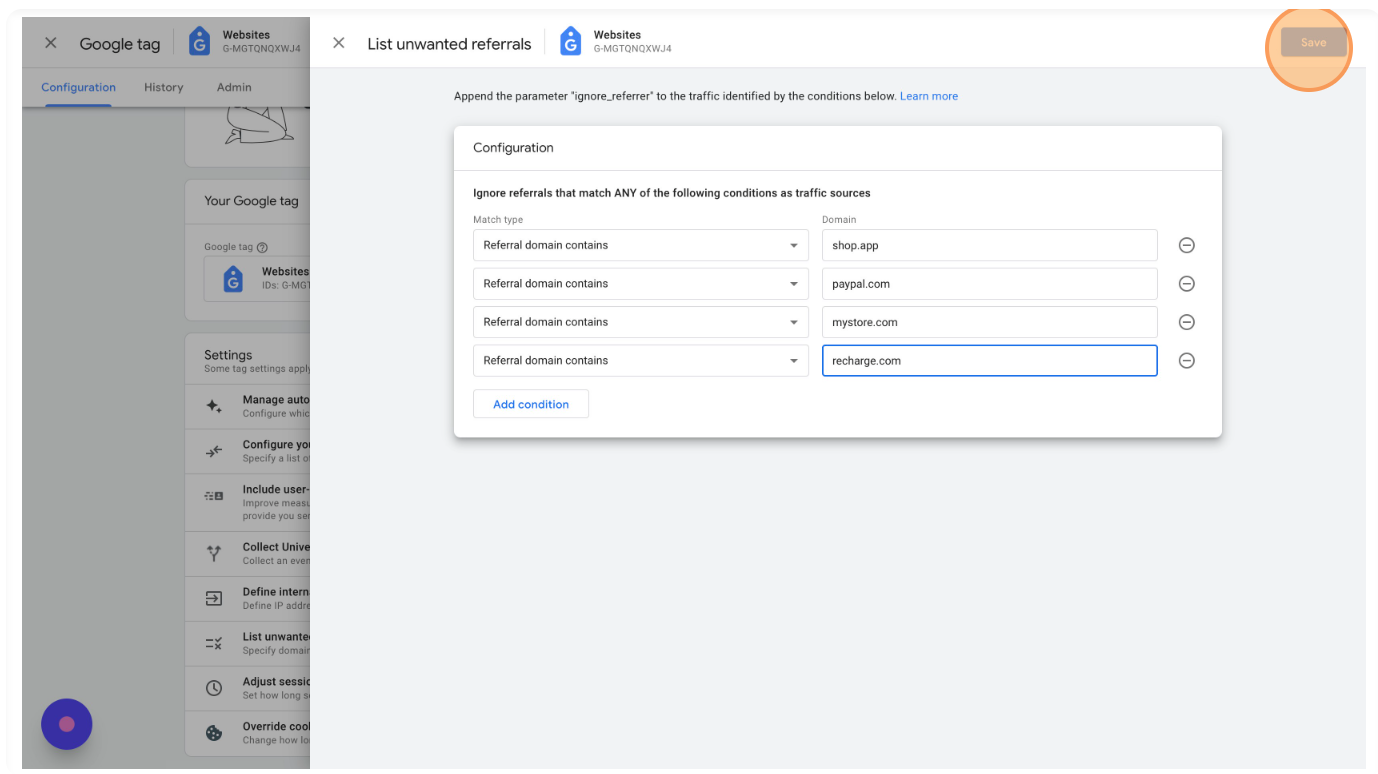
Enter ALL referral exclusions, especially those from third-party checkout providers like Shop, PayPal and Recharge. You can find your Universal Analytics referral exclusions under Admin > Tracking Info > Referral Exclusion List.
All stores should add the "shop.app" referral exclusions.
In your GA4 property's settings, select "Google Ads Links"
Click Link and select the Google Ads associated with your store.
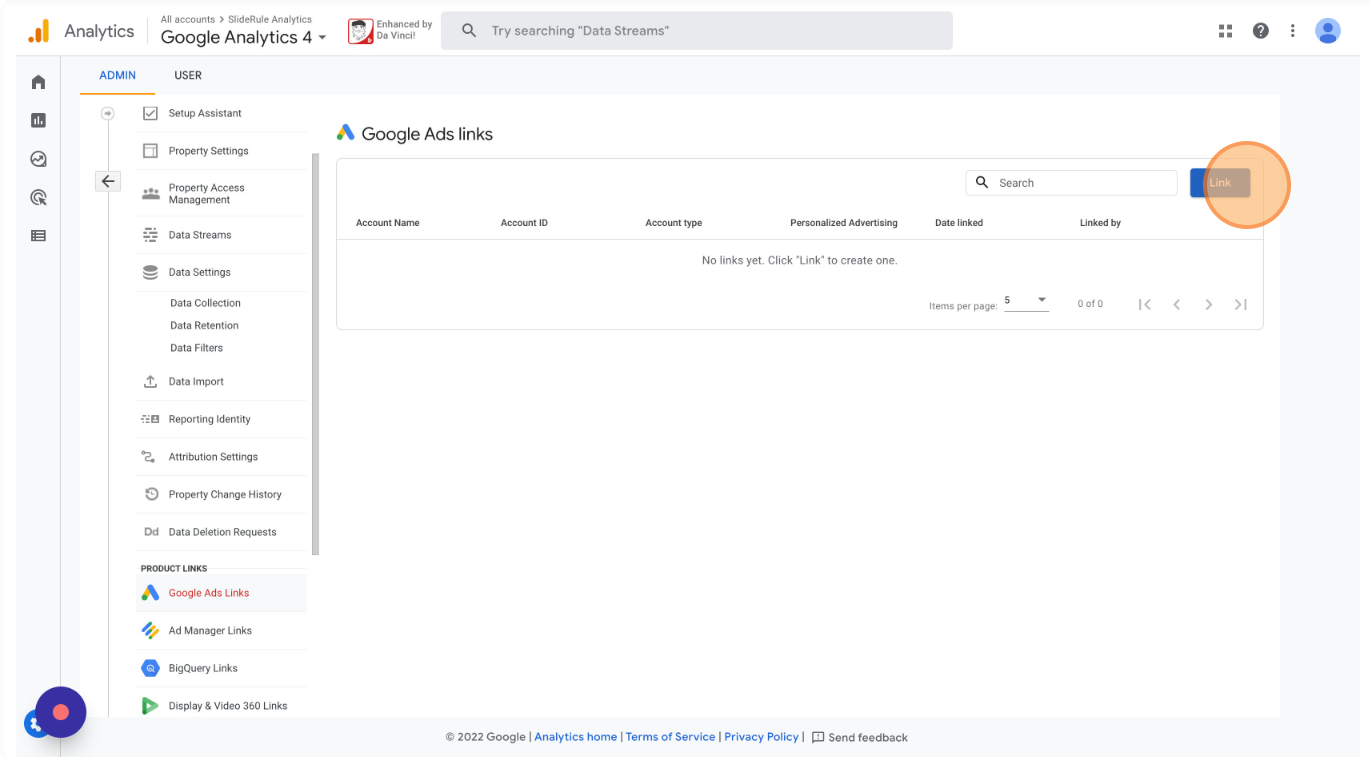
This will only link your Google Analytics 4 and Google Ads account. It does not configure conversions in Google Ads. That must be done separately and is beyond the scope of this post.
Google Analytics 4 will automatically track purchases as conversions. But, often, you want to flag a key event or two higher in the funnel as a conversion. Here's how to flag the add to cart event as a conversion in GA4.
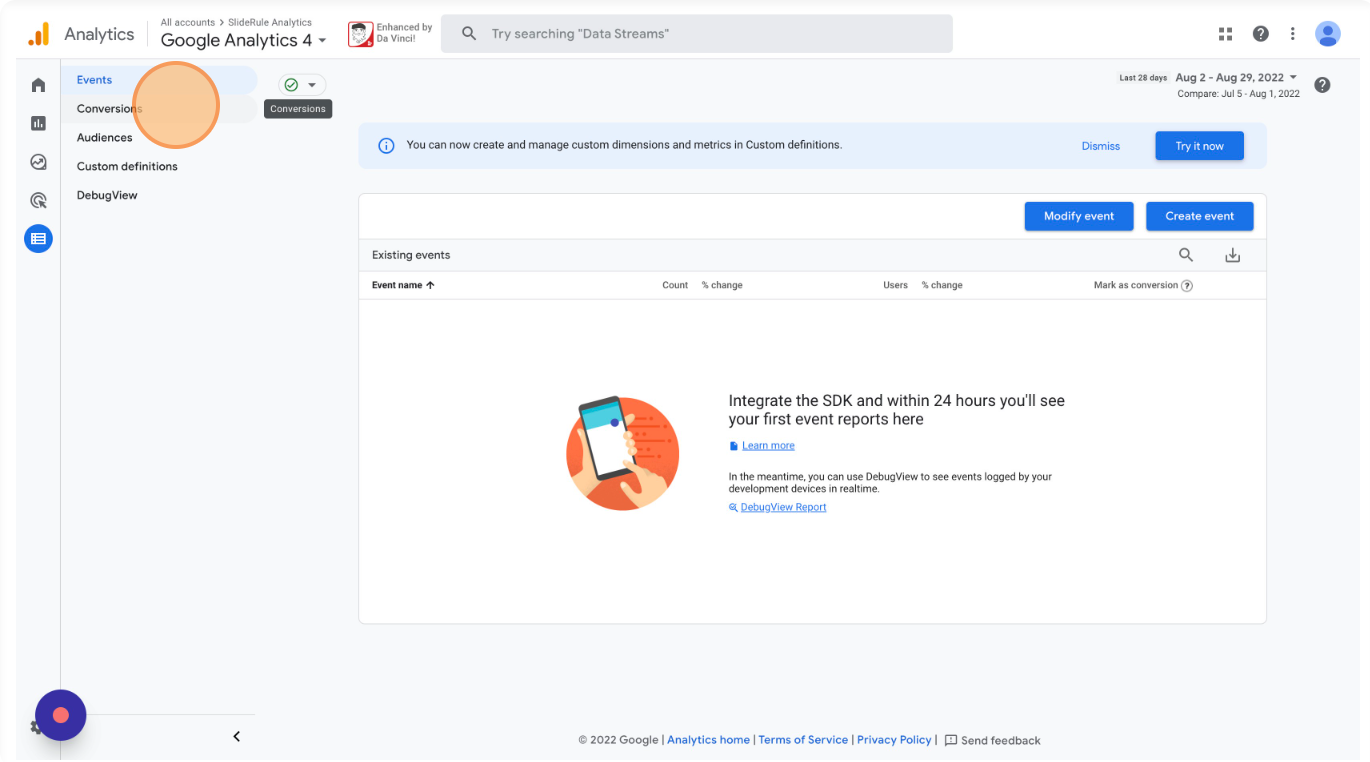
Click the hamburger menu on the left and select Configure.

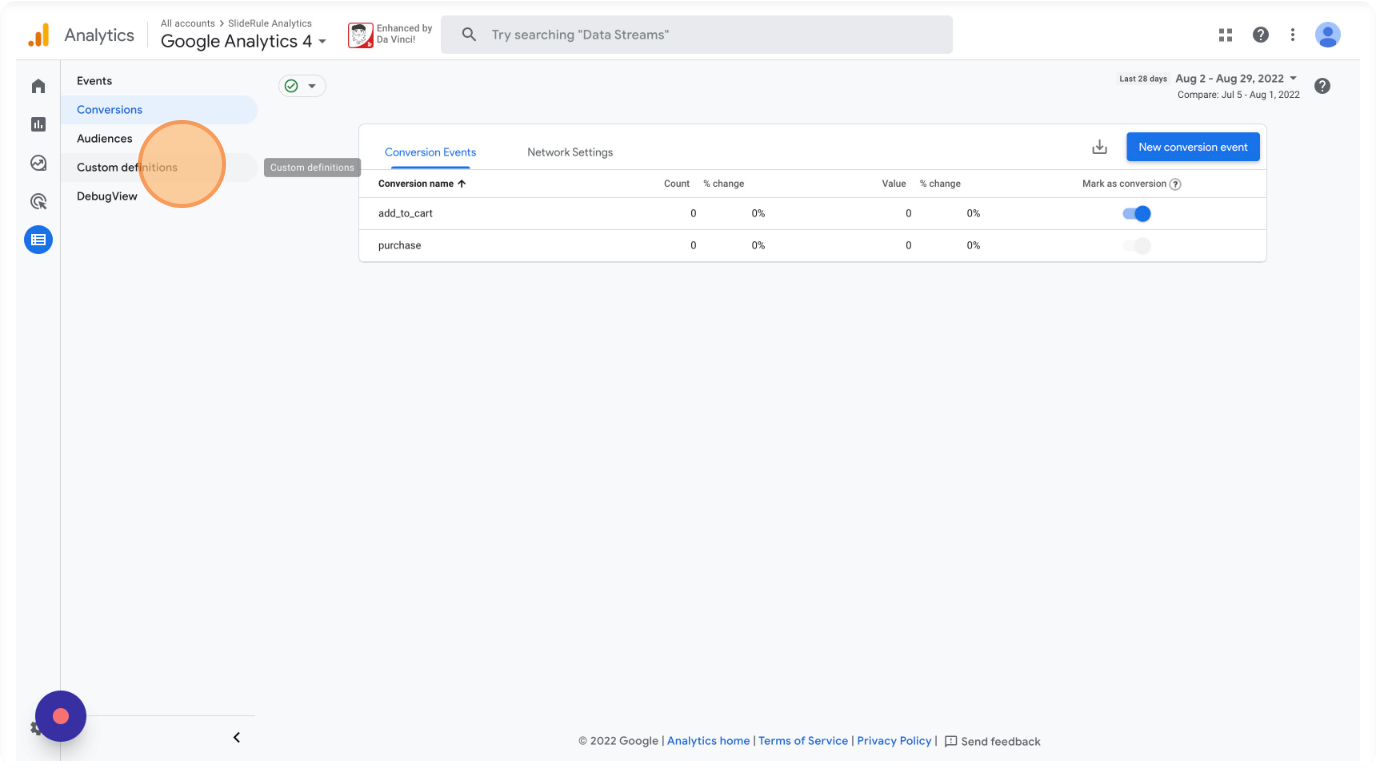
Click "Conversions".
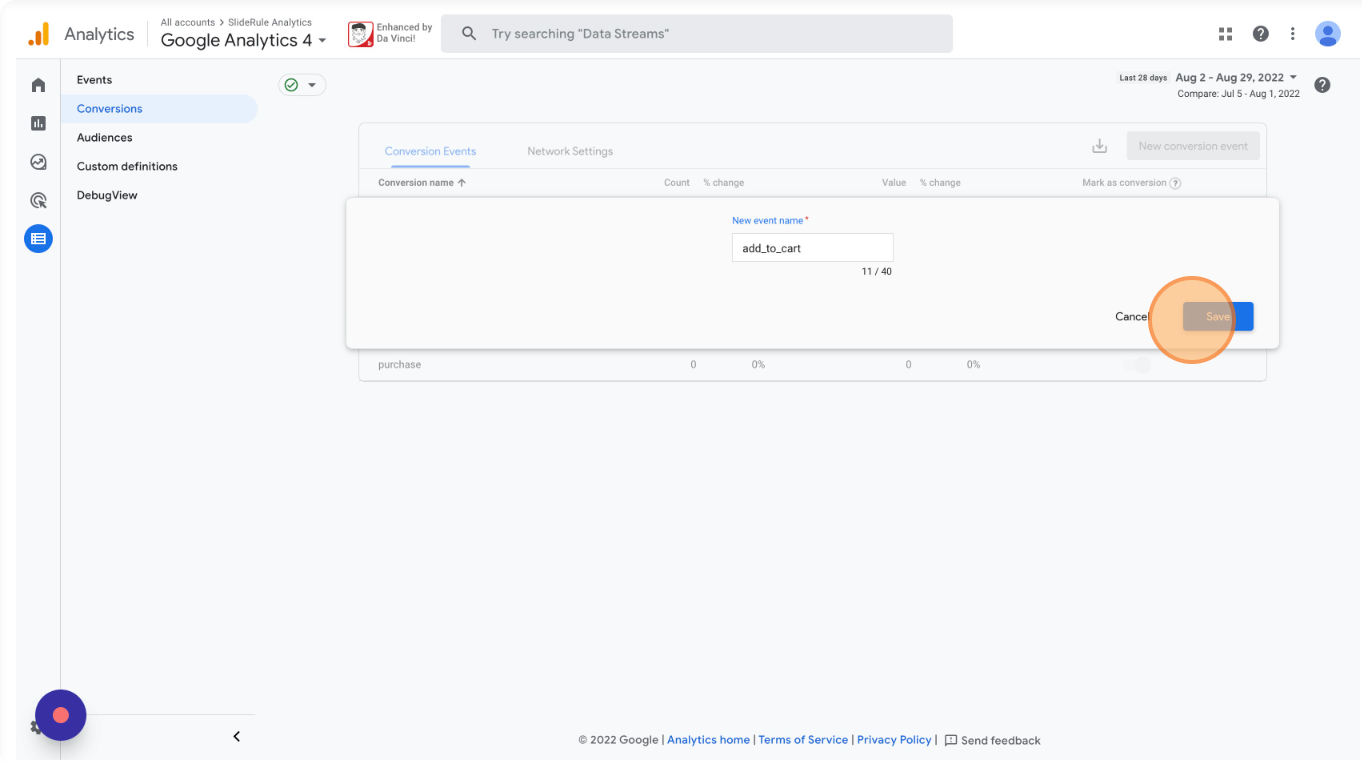
As you can see, purchase events are flagged as conversions by default. To flag add to cart events click "New conversion event",
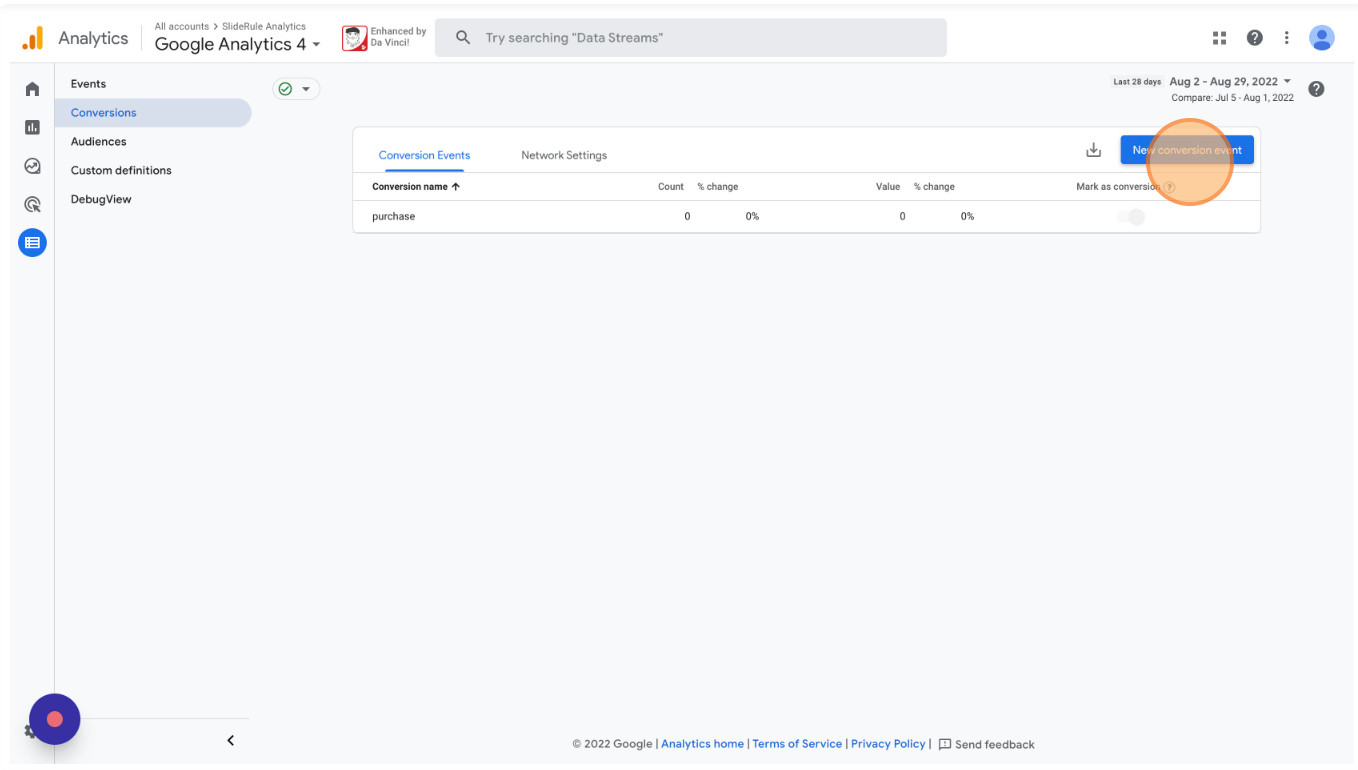
Enter "add_to_cart" and click Save.
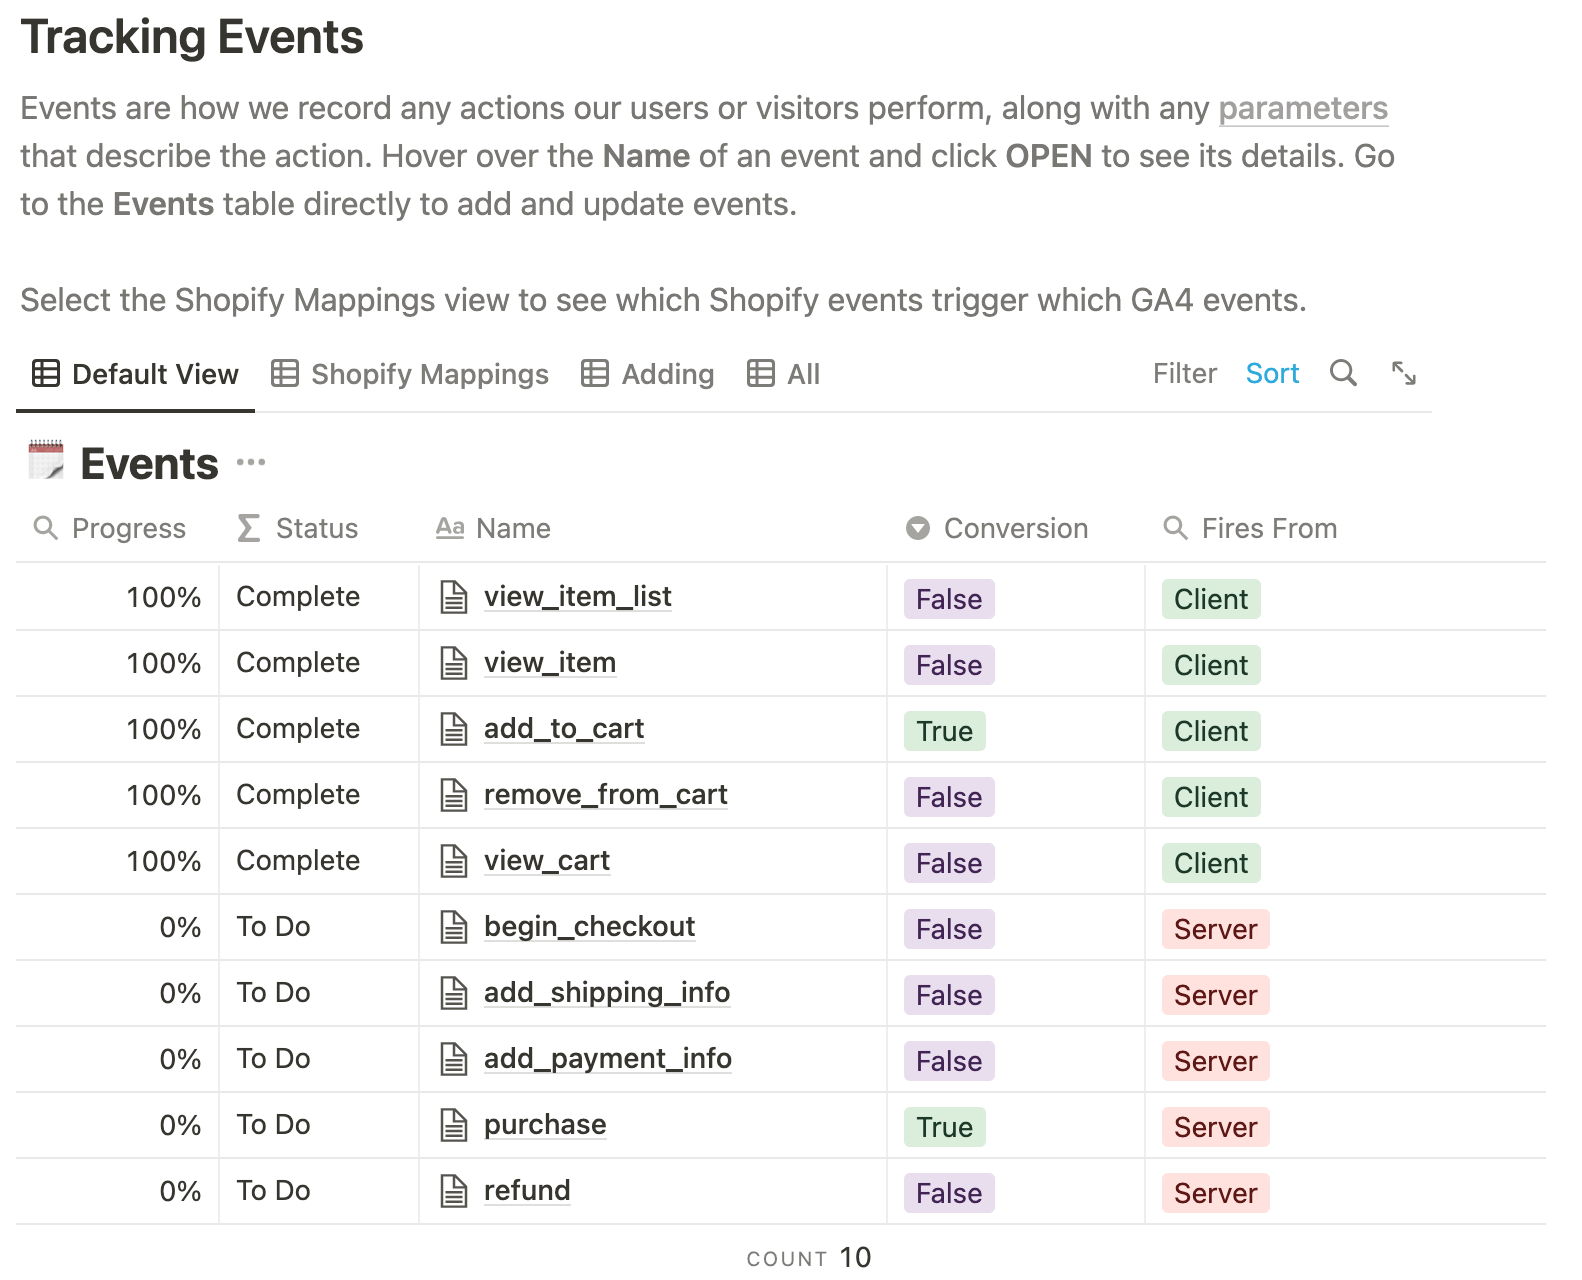
You can see all available events in the Notion Google Analytics 4 template here.
The SlideRule Google Analytics 4 app sends several, useful dimensions from Shopify to Google Analytics that aren't part of the standard GA4 ecommerce spec. If you’re using Google Tag Manager, you may also be sending additional dimensions.
While these dimensions are tracked by GA4, to be able to see them in your GA4 reports, you need to configure them. For instance, here's how to add the Client ID user property to Google Analytics 4.
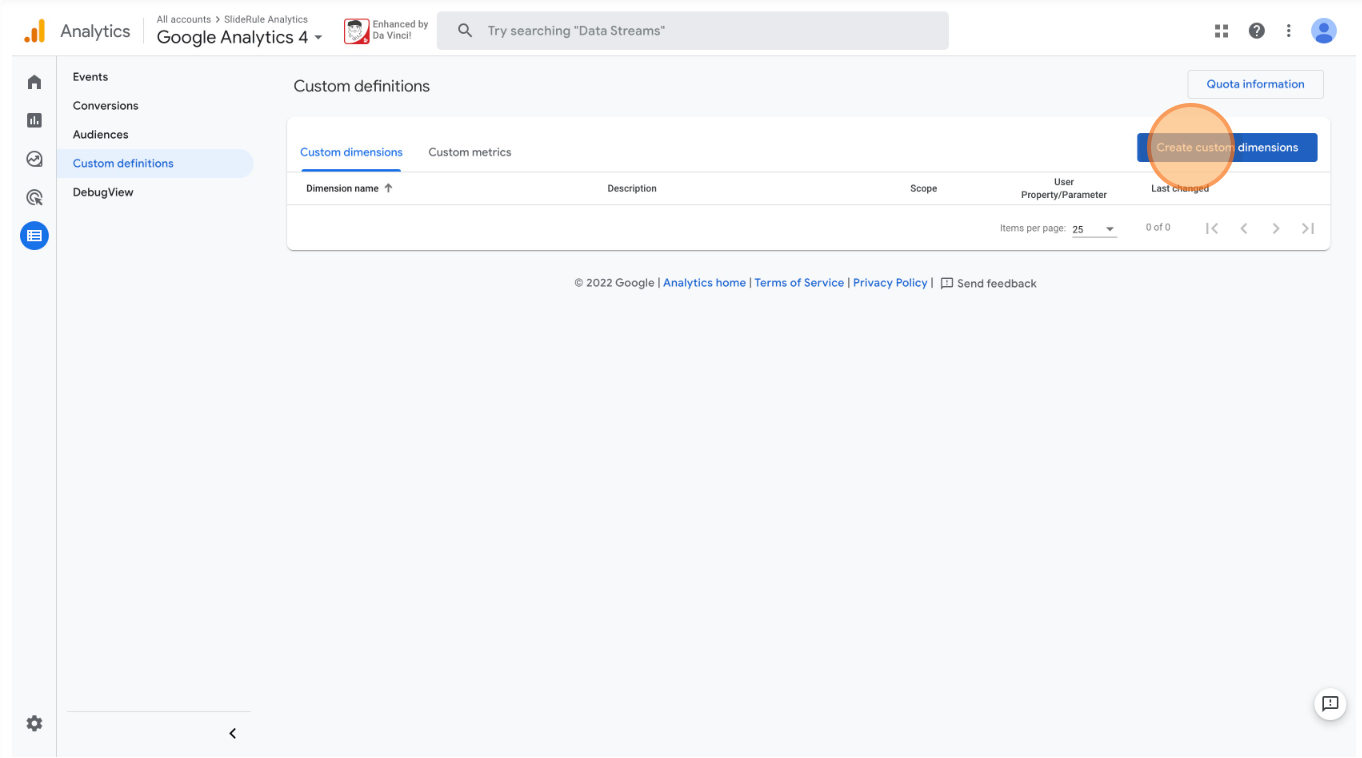
In Google Analytics 4, click the "Configure" menu (bottom Icon on the left-most menu) and select "Custom definitions".
Click "Create custom dimensions"
Enter the Dimension name as "Client ID", select the "User" Scope, enter a description, and enter "custom_client_id" as the User property. Then click "Save".
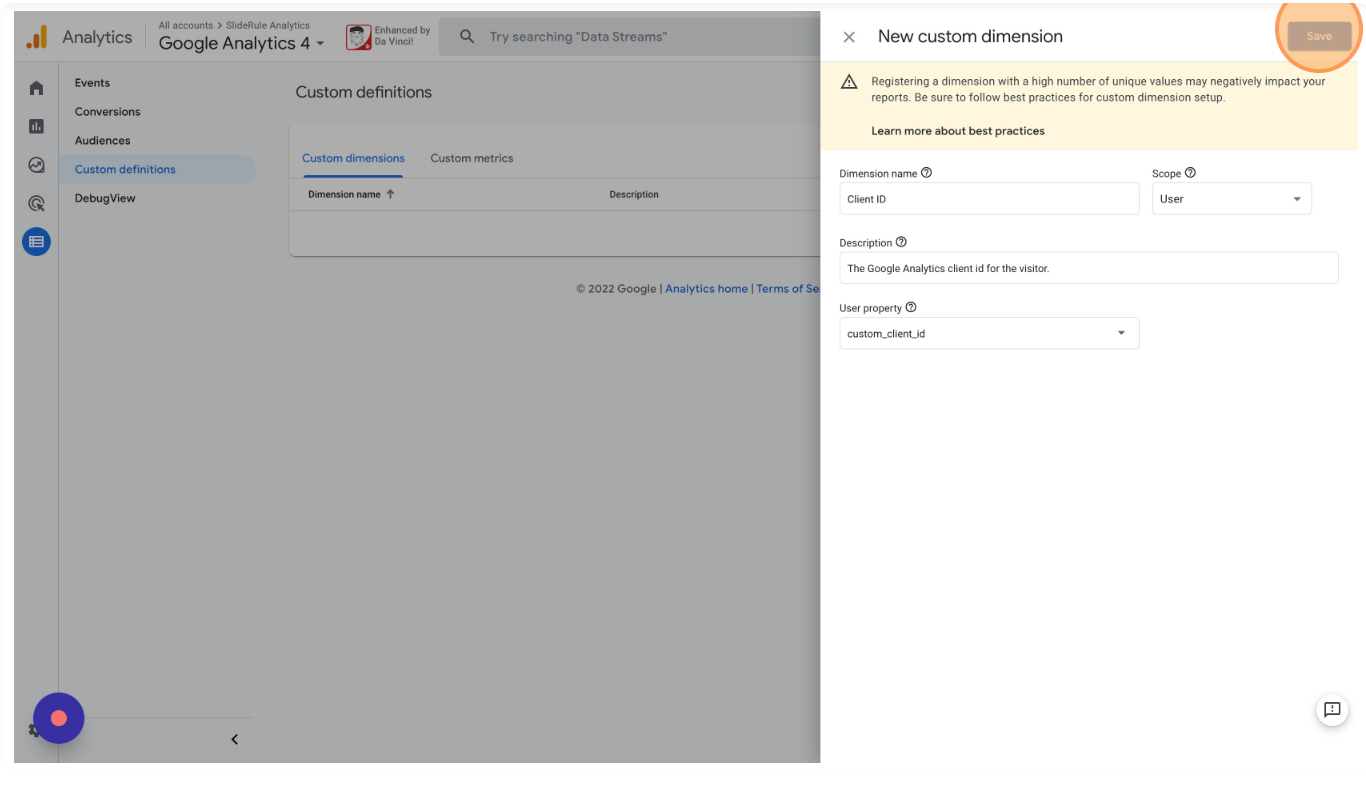
"custom_client_id" must be entered exactly as shown.
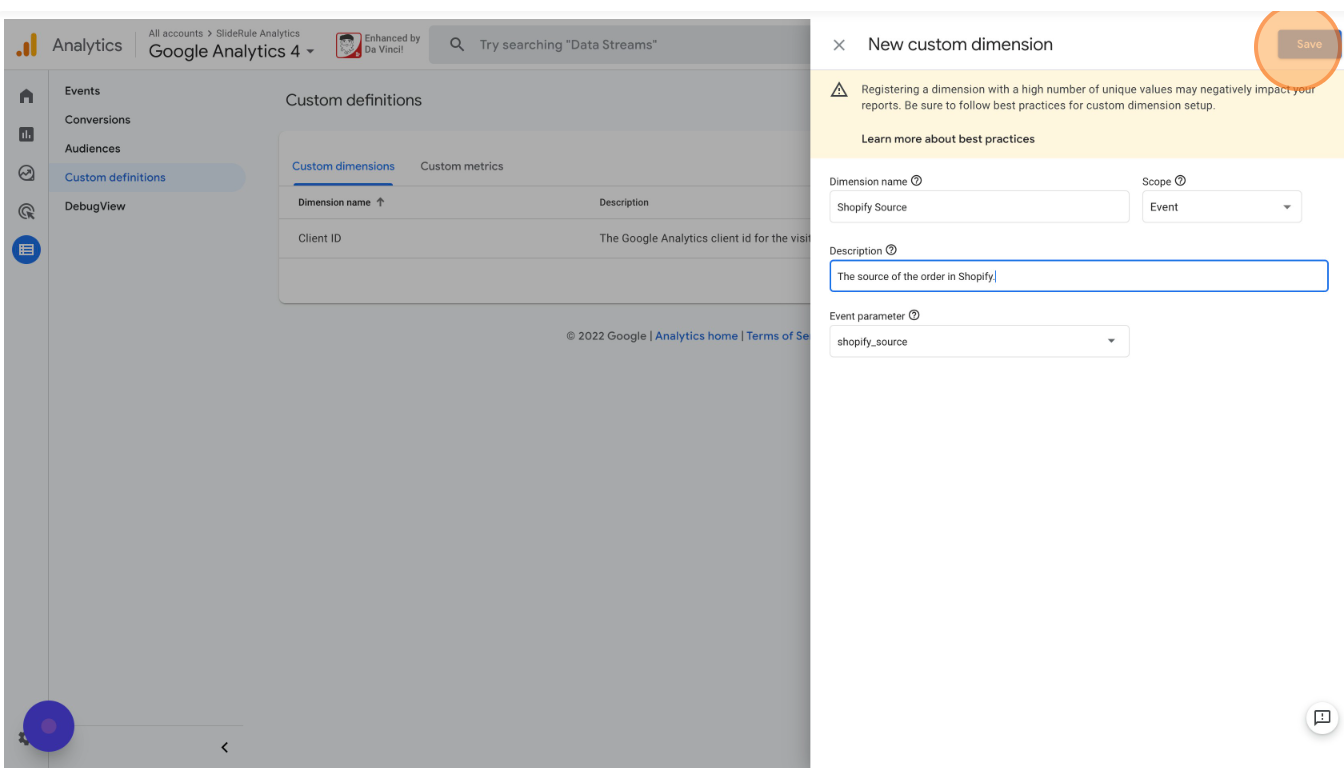
User properties like this will always show the most recent value for the user. Event parameters, like the Shopify Source below, will only apply to the individual event, in this case, the purchase event.
Click "Create custom dimension" again, add the Shopify Source information, and click "Save"
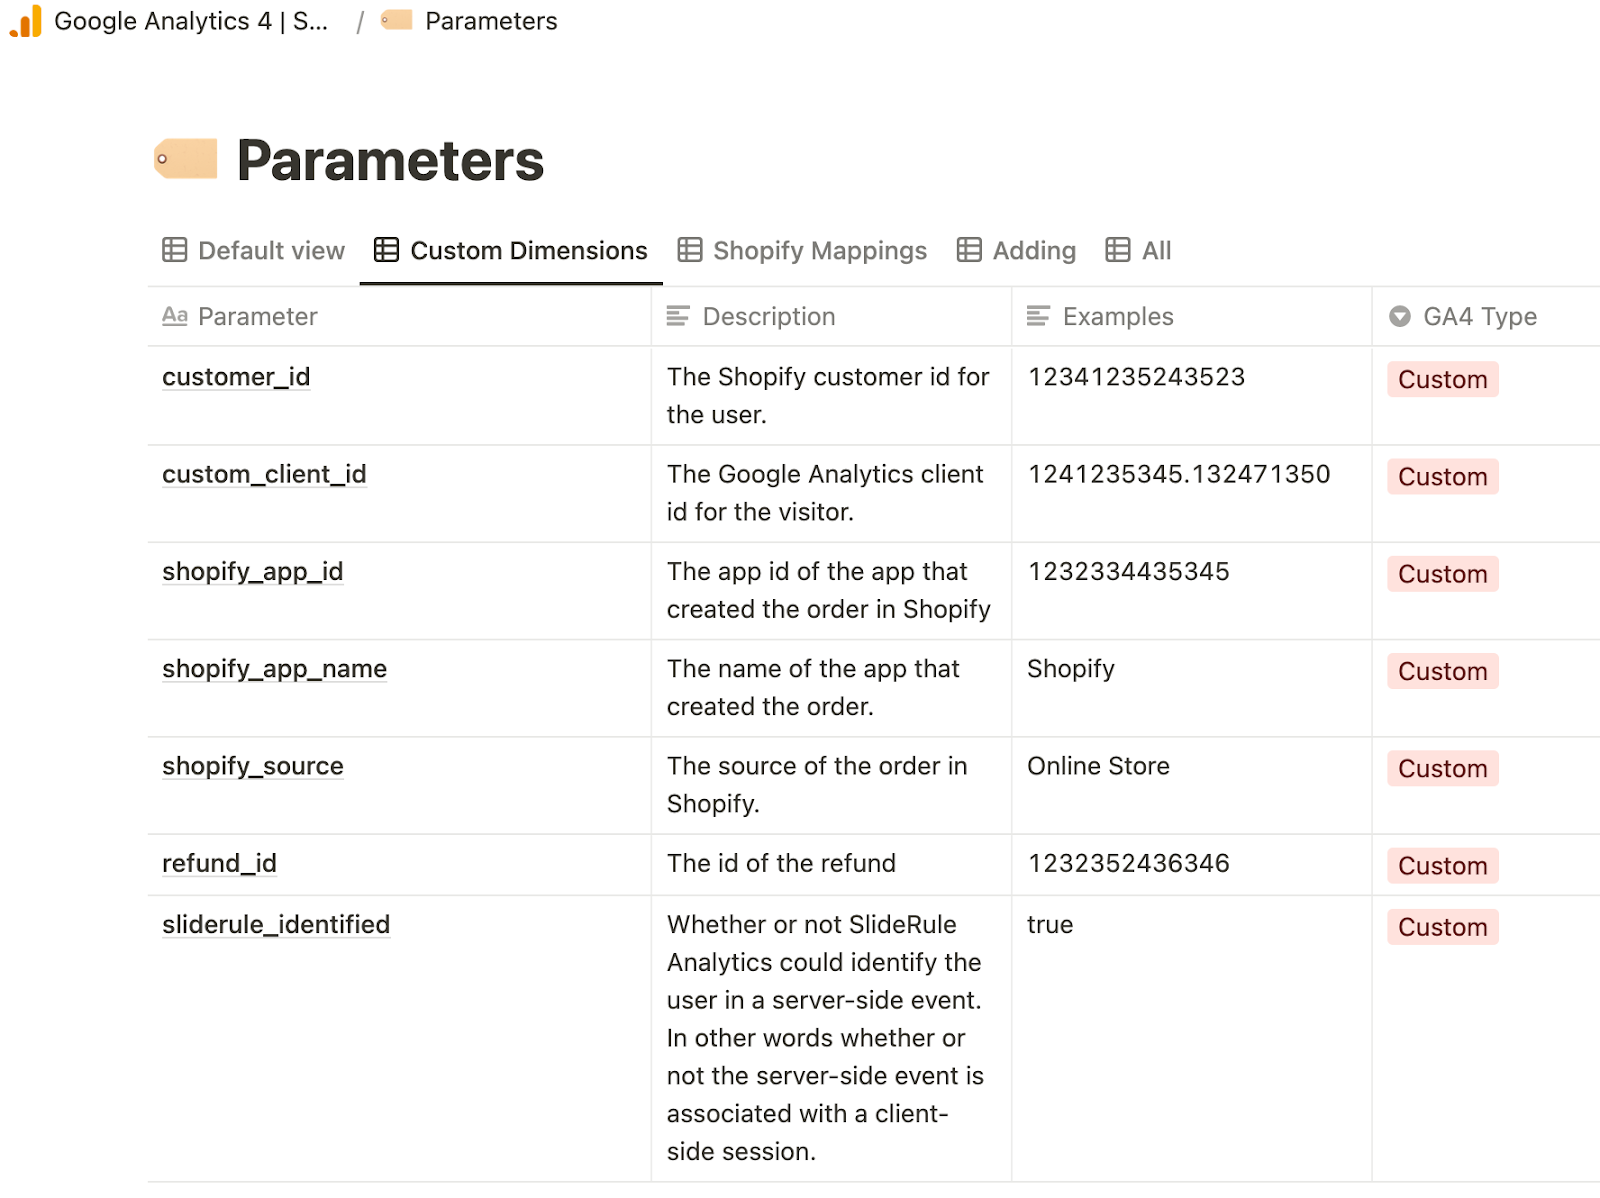
All of the Event Parameters and User Properties documented in the Notion template. You should add all of them to your Google Analytics 4 with the same steps above.
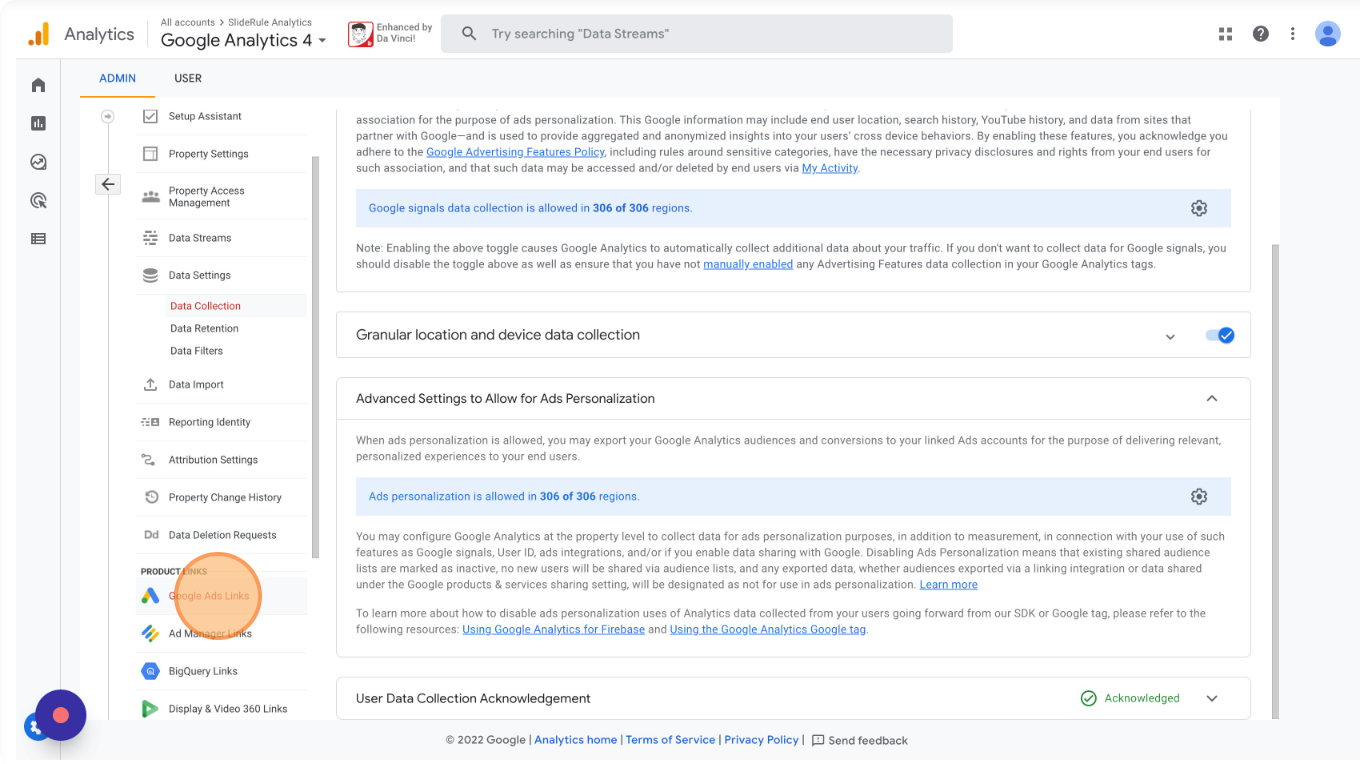
Google Signals is a new feature that theoretically improves cross-device tracking in Google Analytics. However, it has some significant drawbacks. Per Analytics Mania, If you don’t plan to use Demographic reports and you don’t plan to use GA4 audiences for remarketing in Google Ads, you should not enable Signals.
If you do need those features, here’s how to set it up.
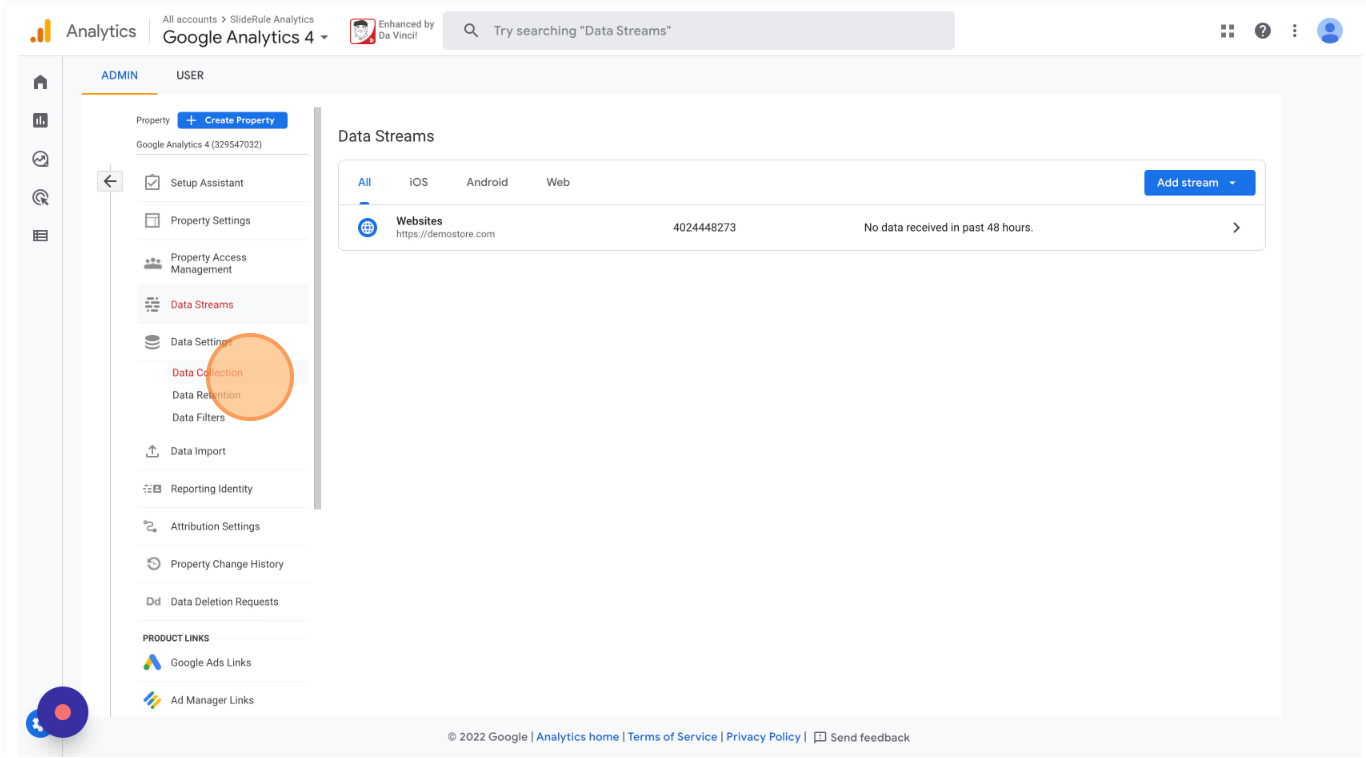
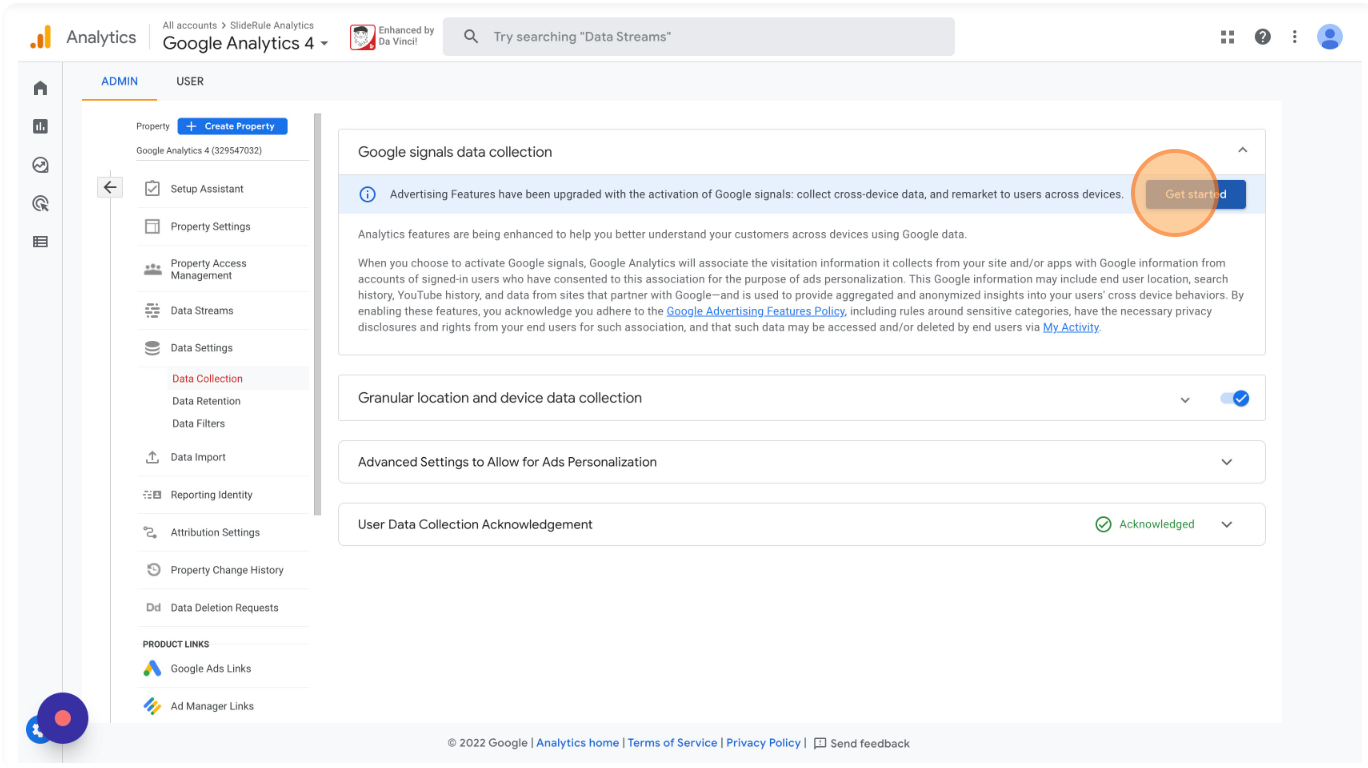
In your GA4 property's settings, select "Data Collection"
Click "Get started"
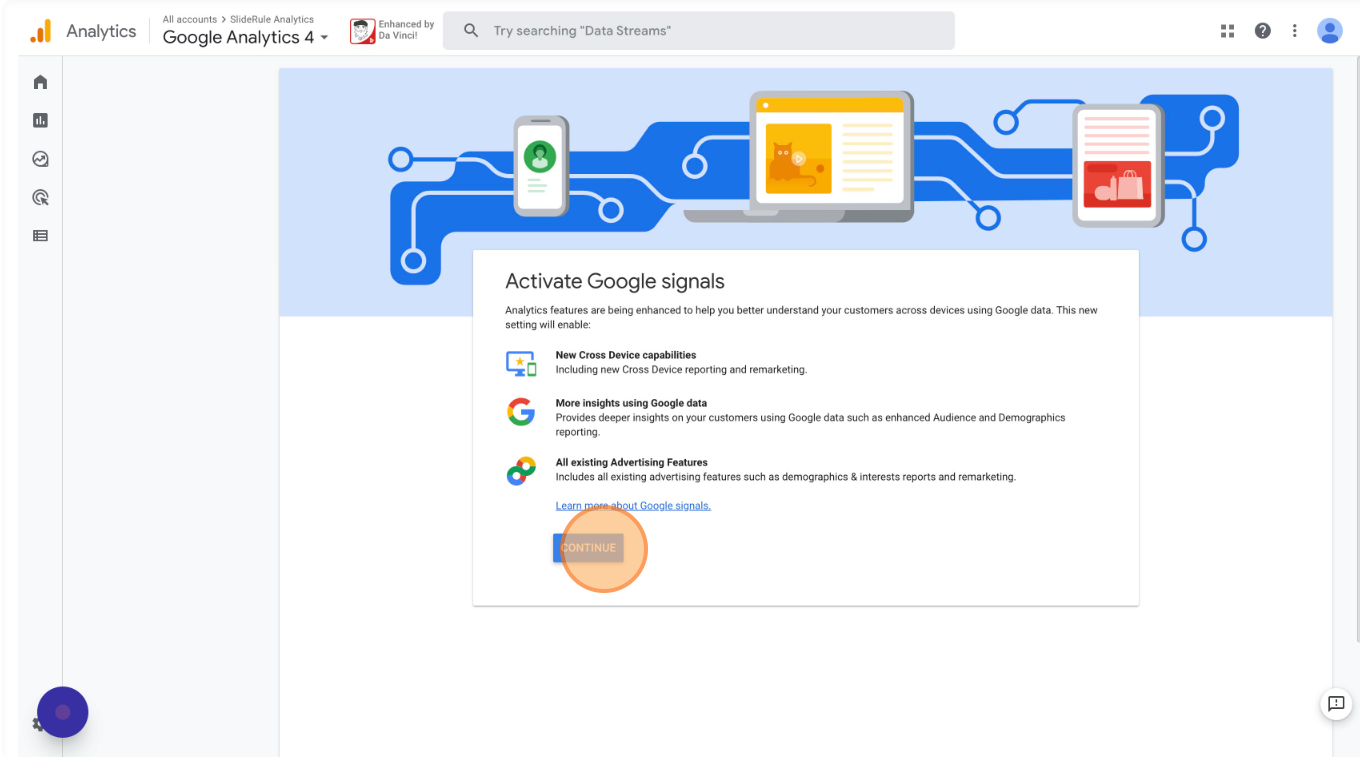
Click "CONTINUE"
Click "ACTIVATE"
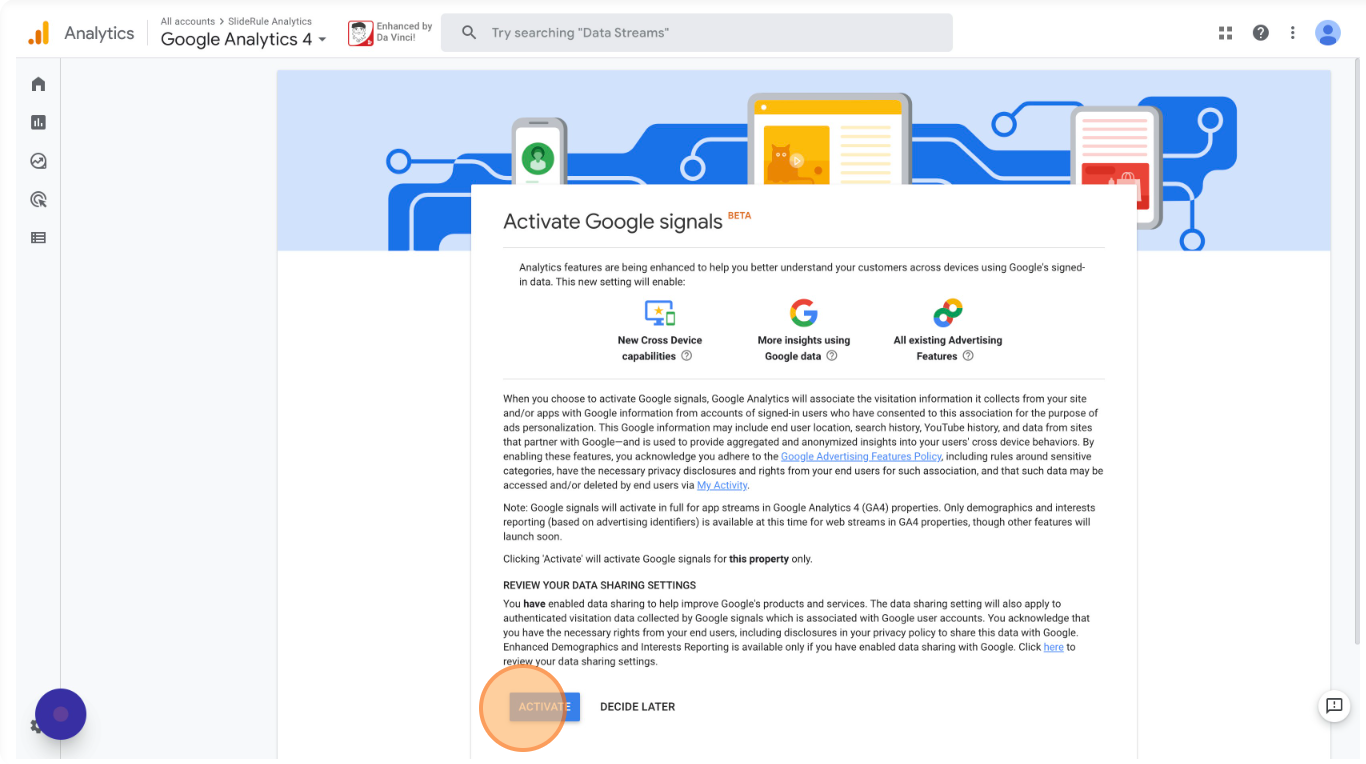
And you're done enabling Google Signals.
You have now completely set up and configured your Google Analytics 4 property to receive complete, clean and accurate data from Shopify.
If you still need a way to send data from Shopify to GA4, install the SlideRule Google Analytics 4 app on your Shopify store.